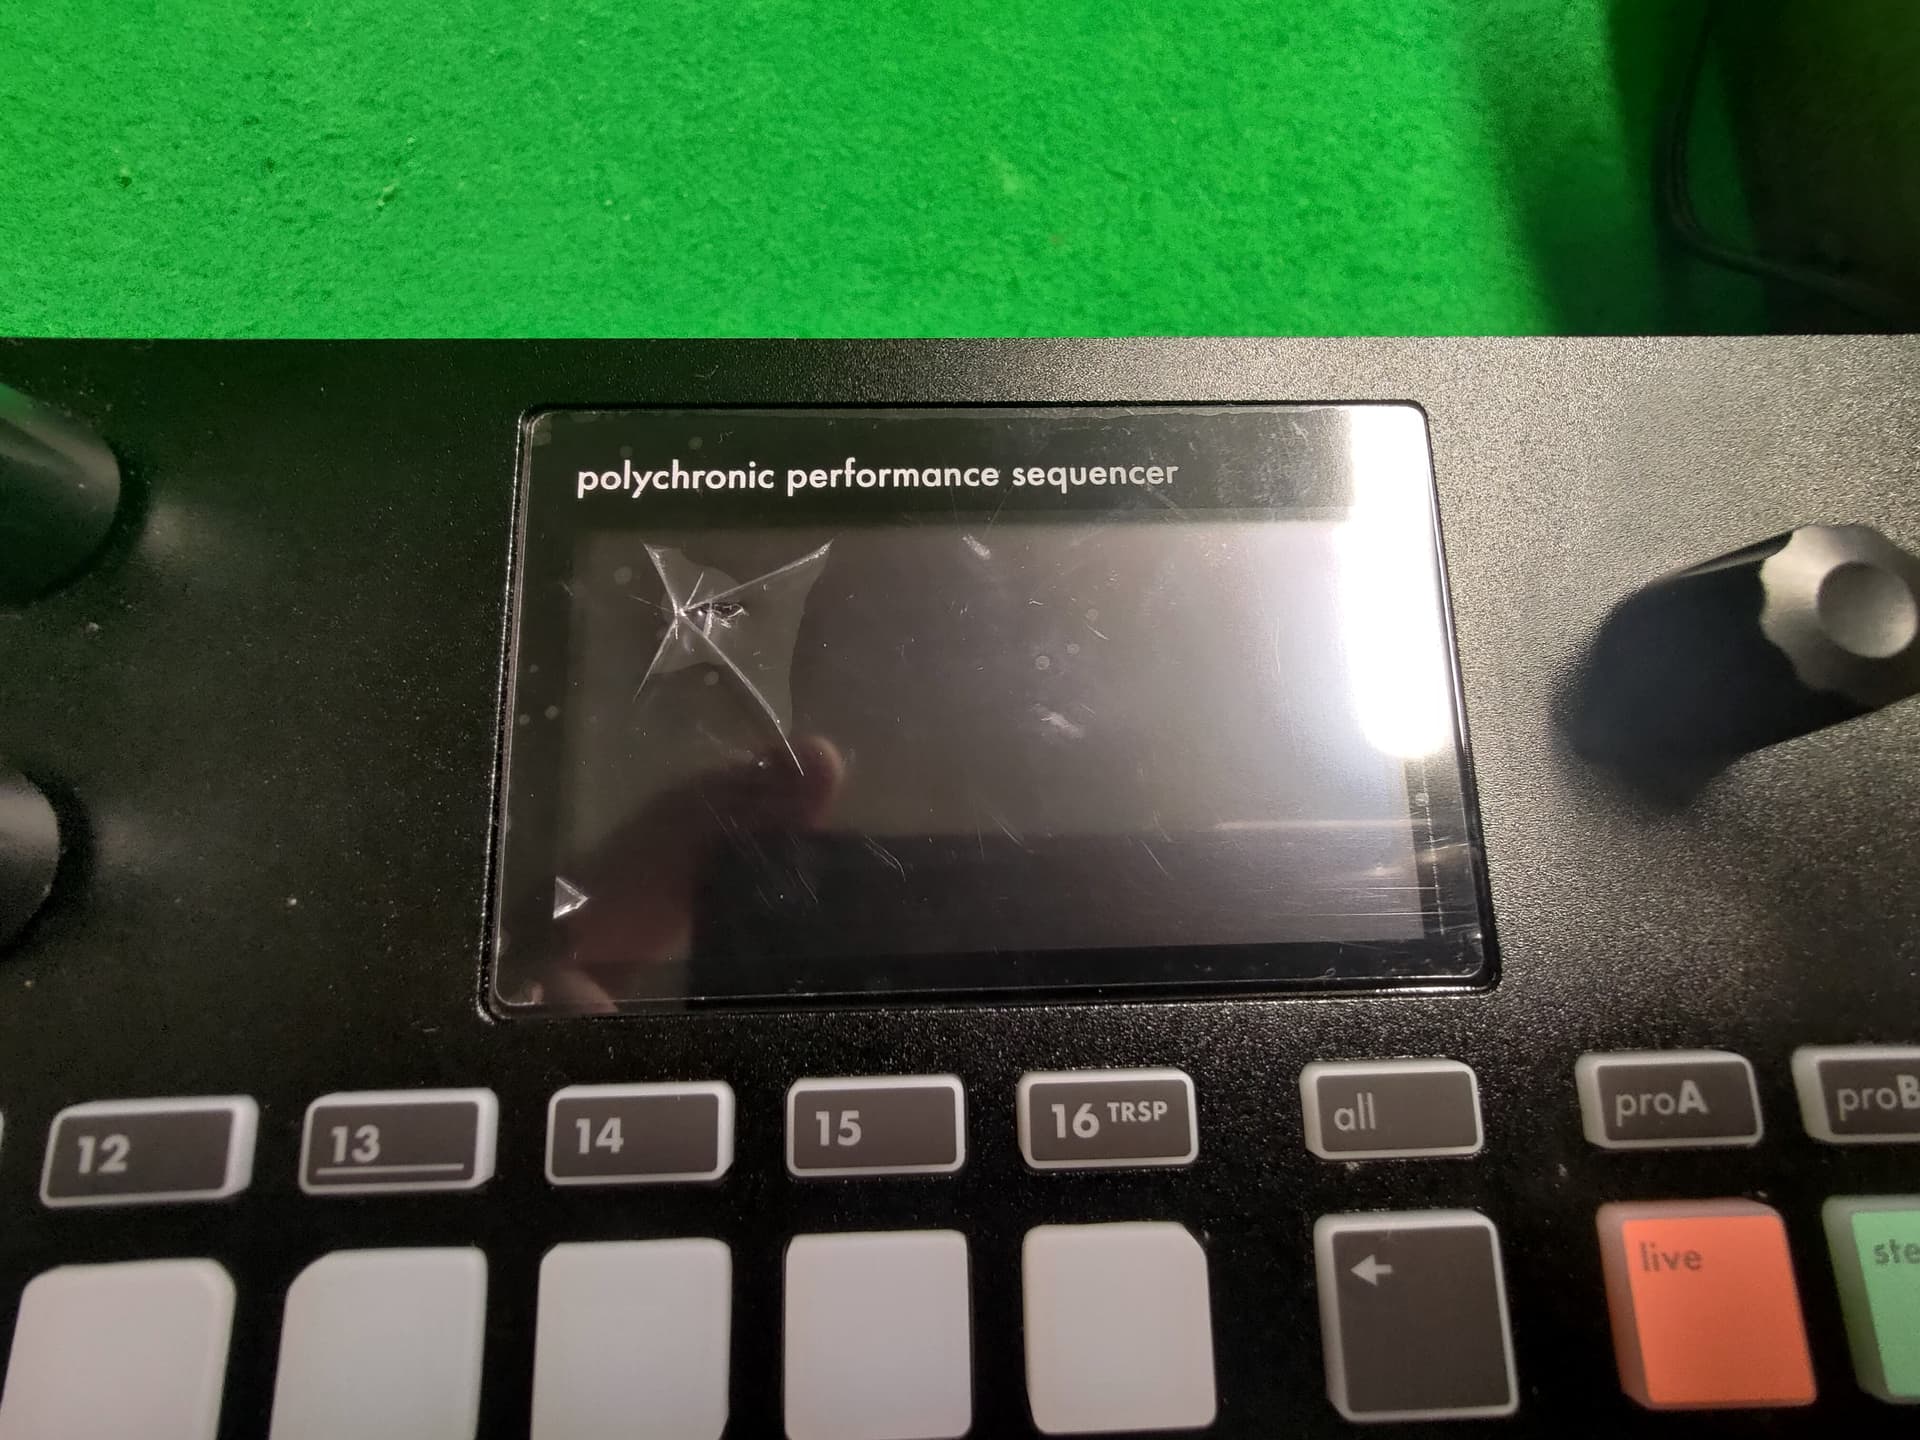
A few weeks ago my Hapax had an accident which included a cheap digital microscop with a solid steel plate base, a cable, a height difference of ~one meter and a very clumsy me. ![]()
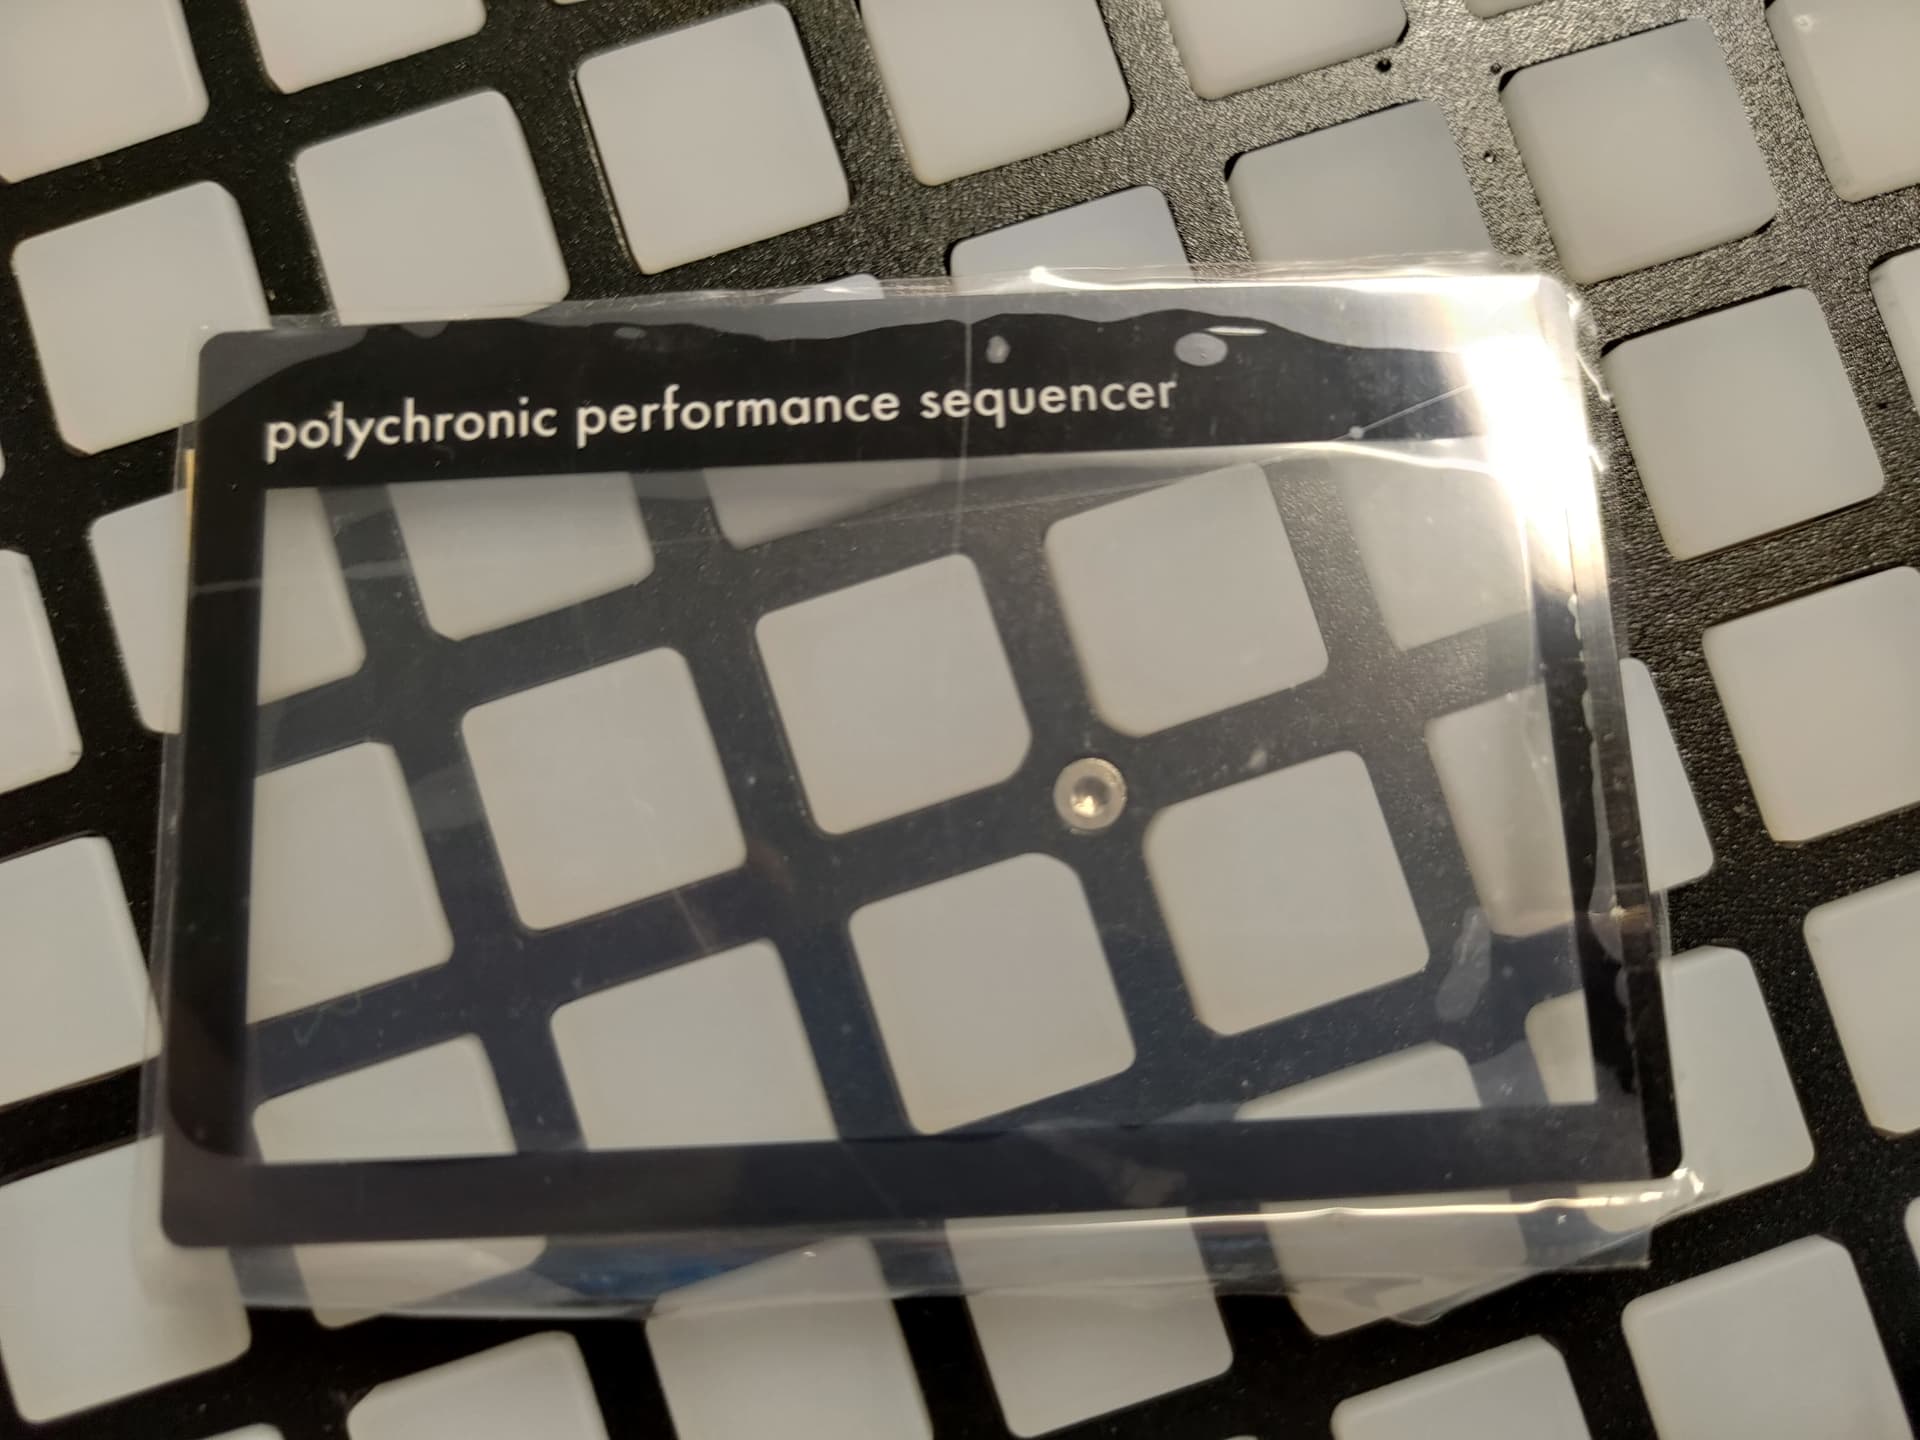
I reached out to Squarp and they generously sent me a replacement cover
These are the steps it took to replace the broken one.
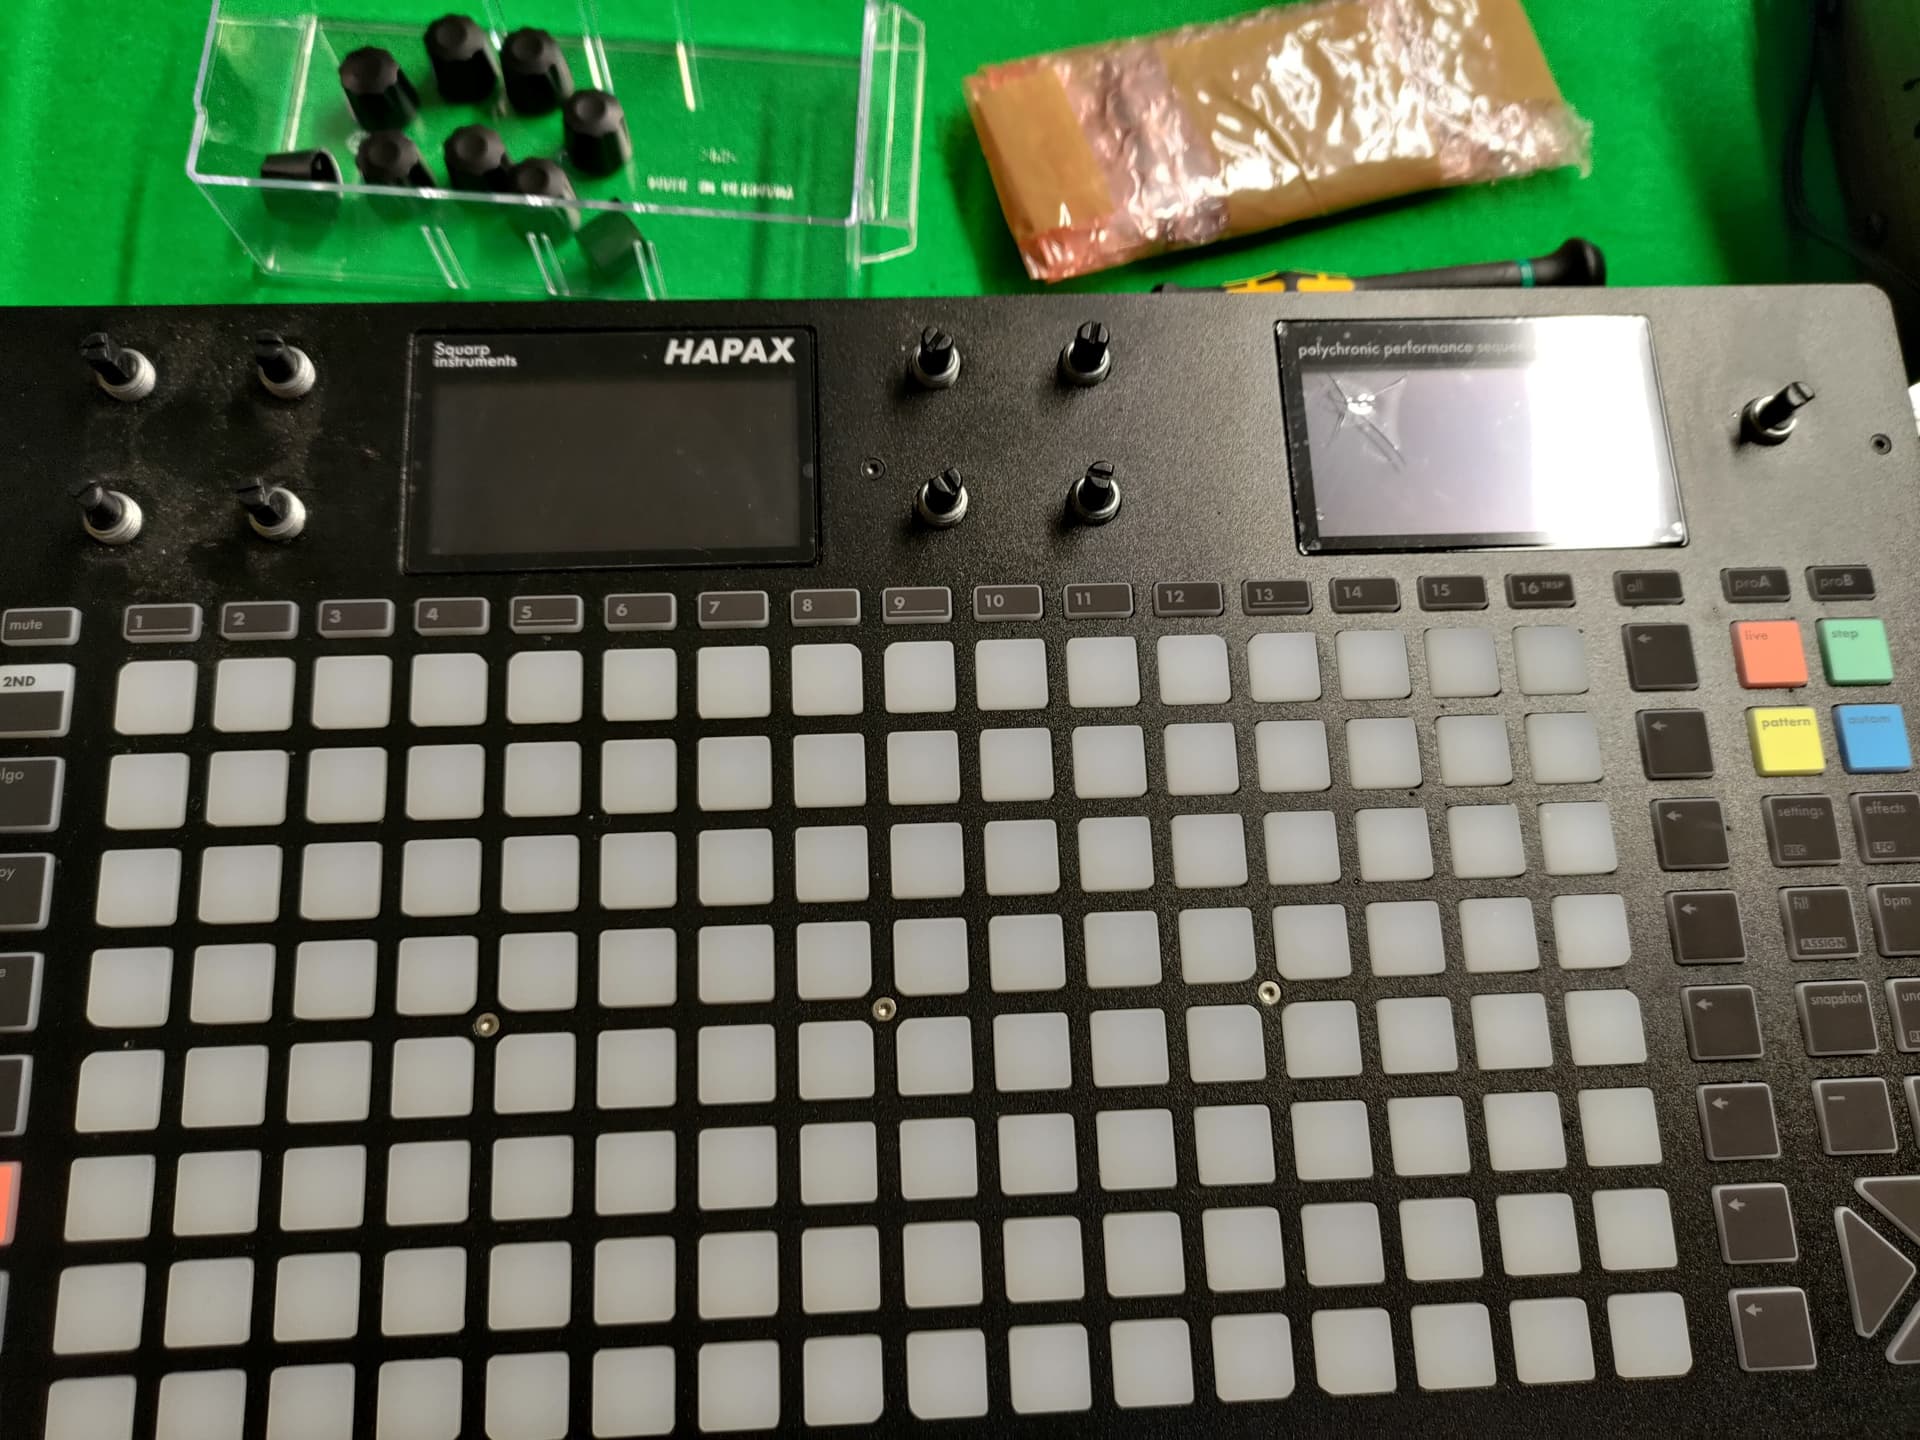
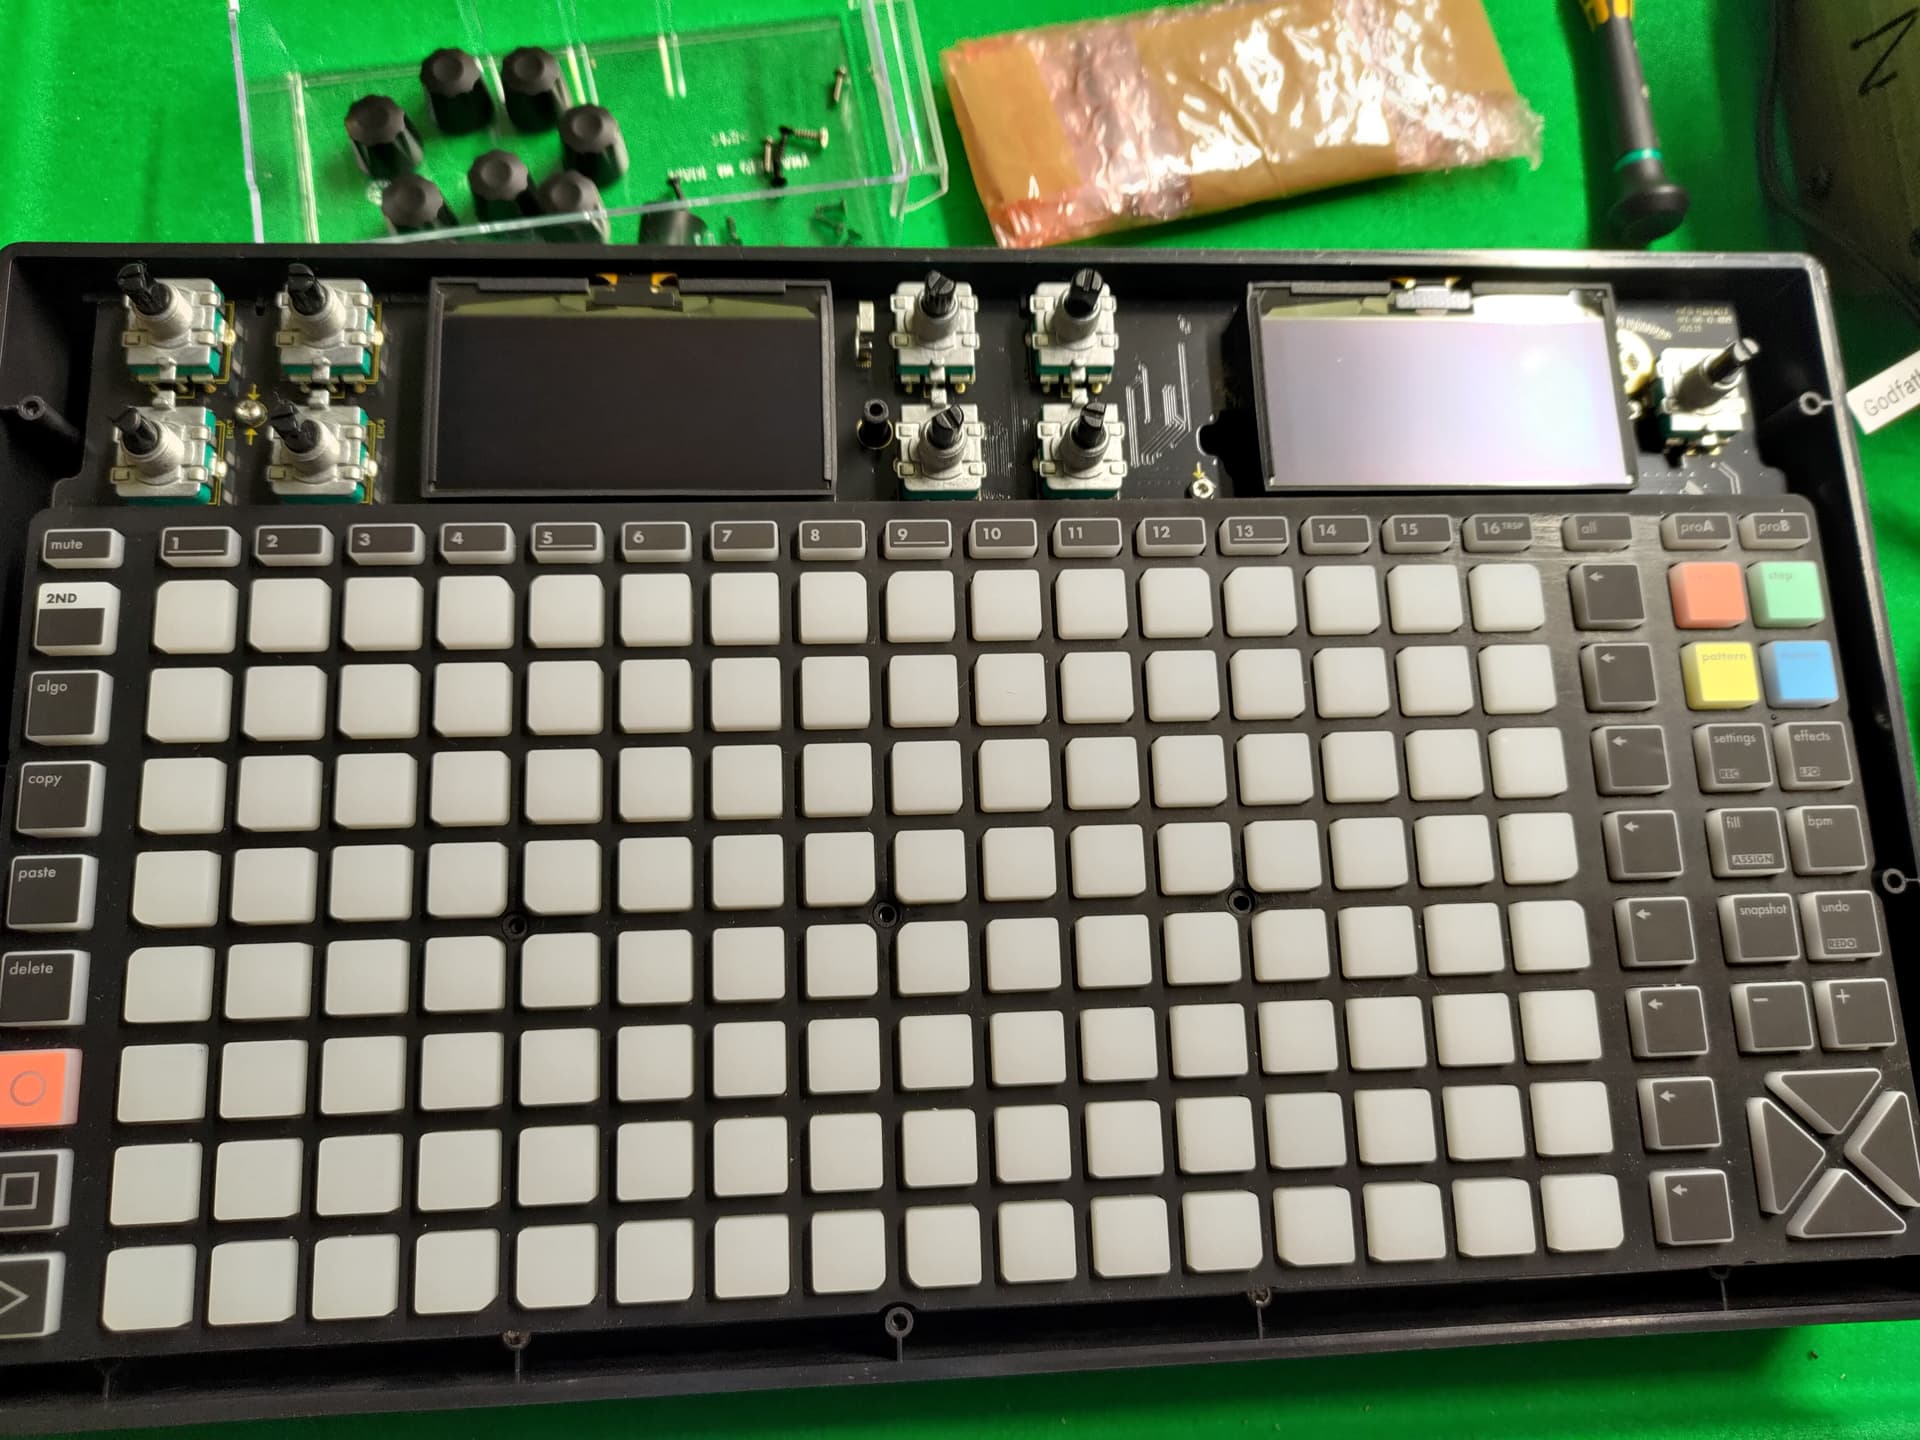
- gently pull on the 9 knobs to remove them
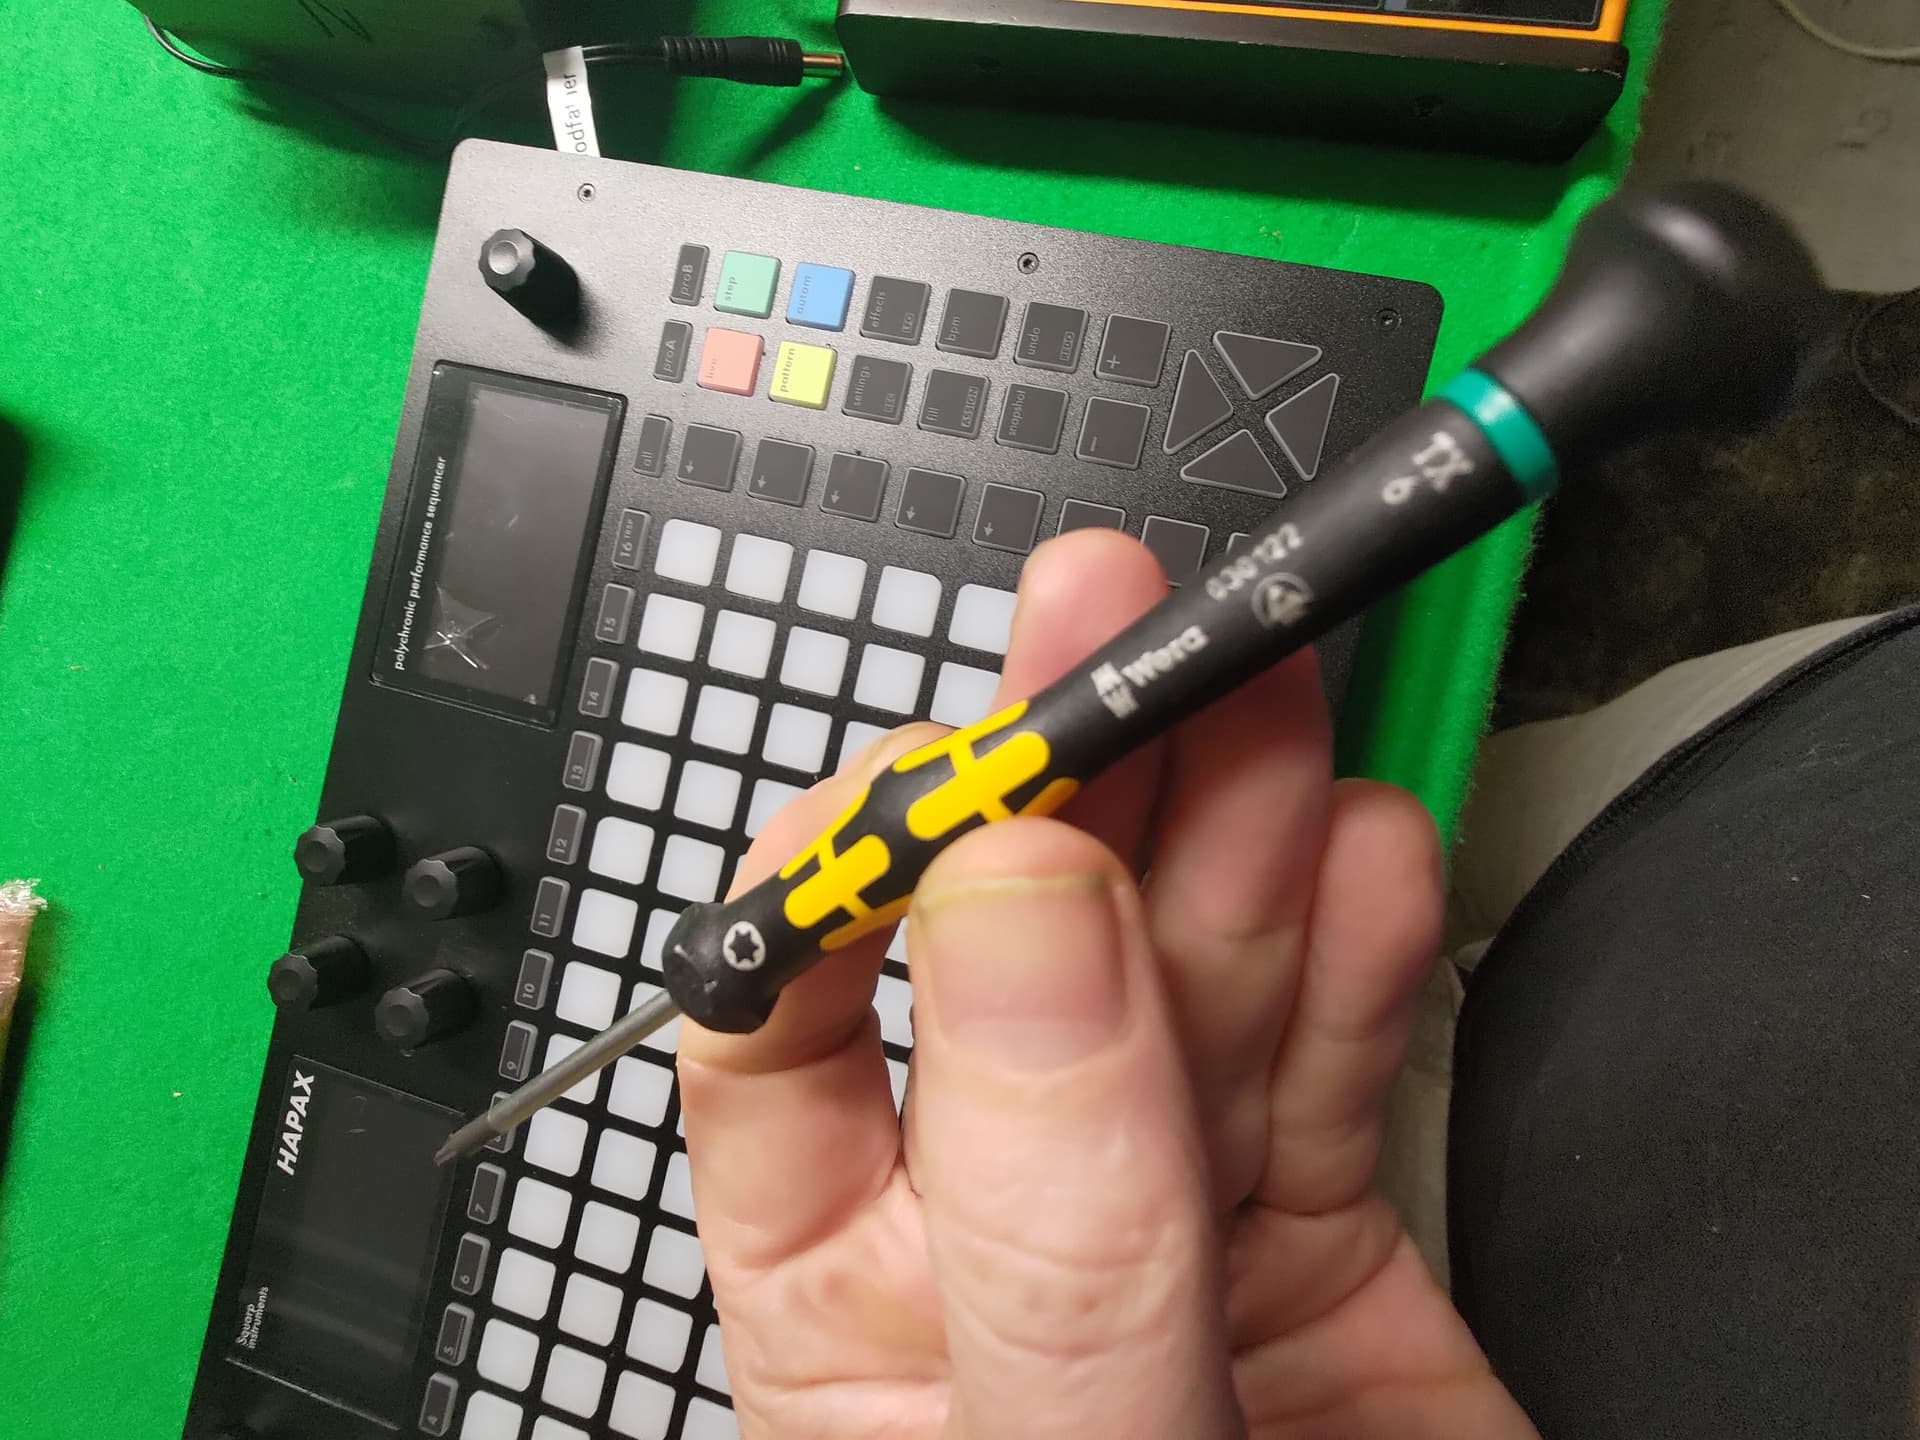
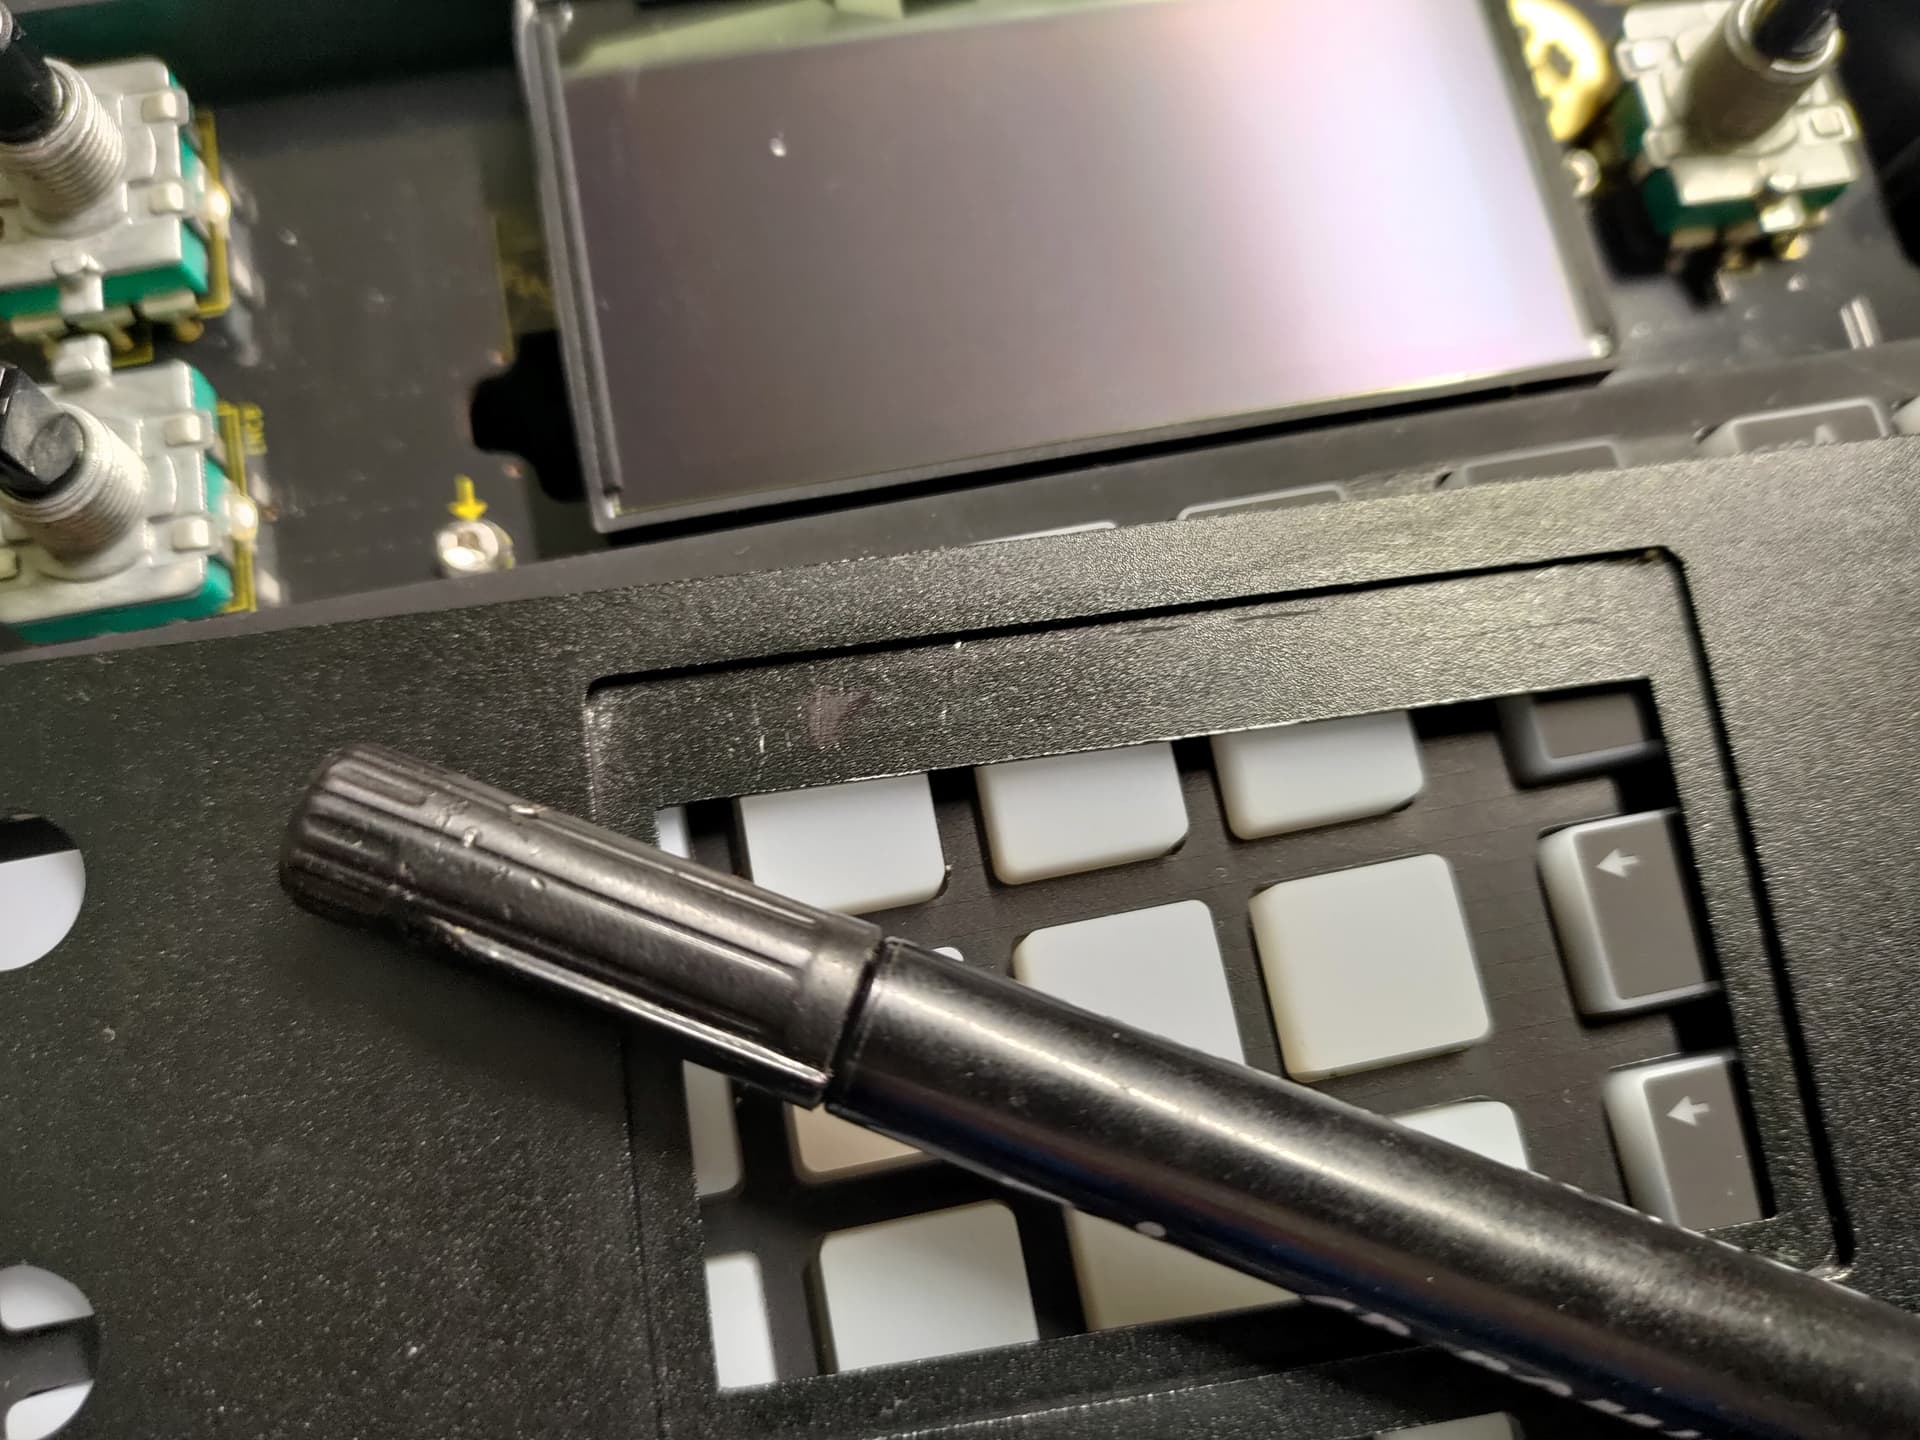
- use a Torx Tx6 screwdriver to remove all the black and silver screws from the front plate
- lift off the front plate
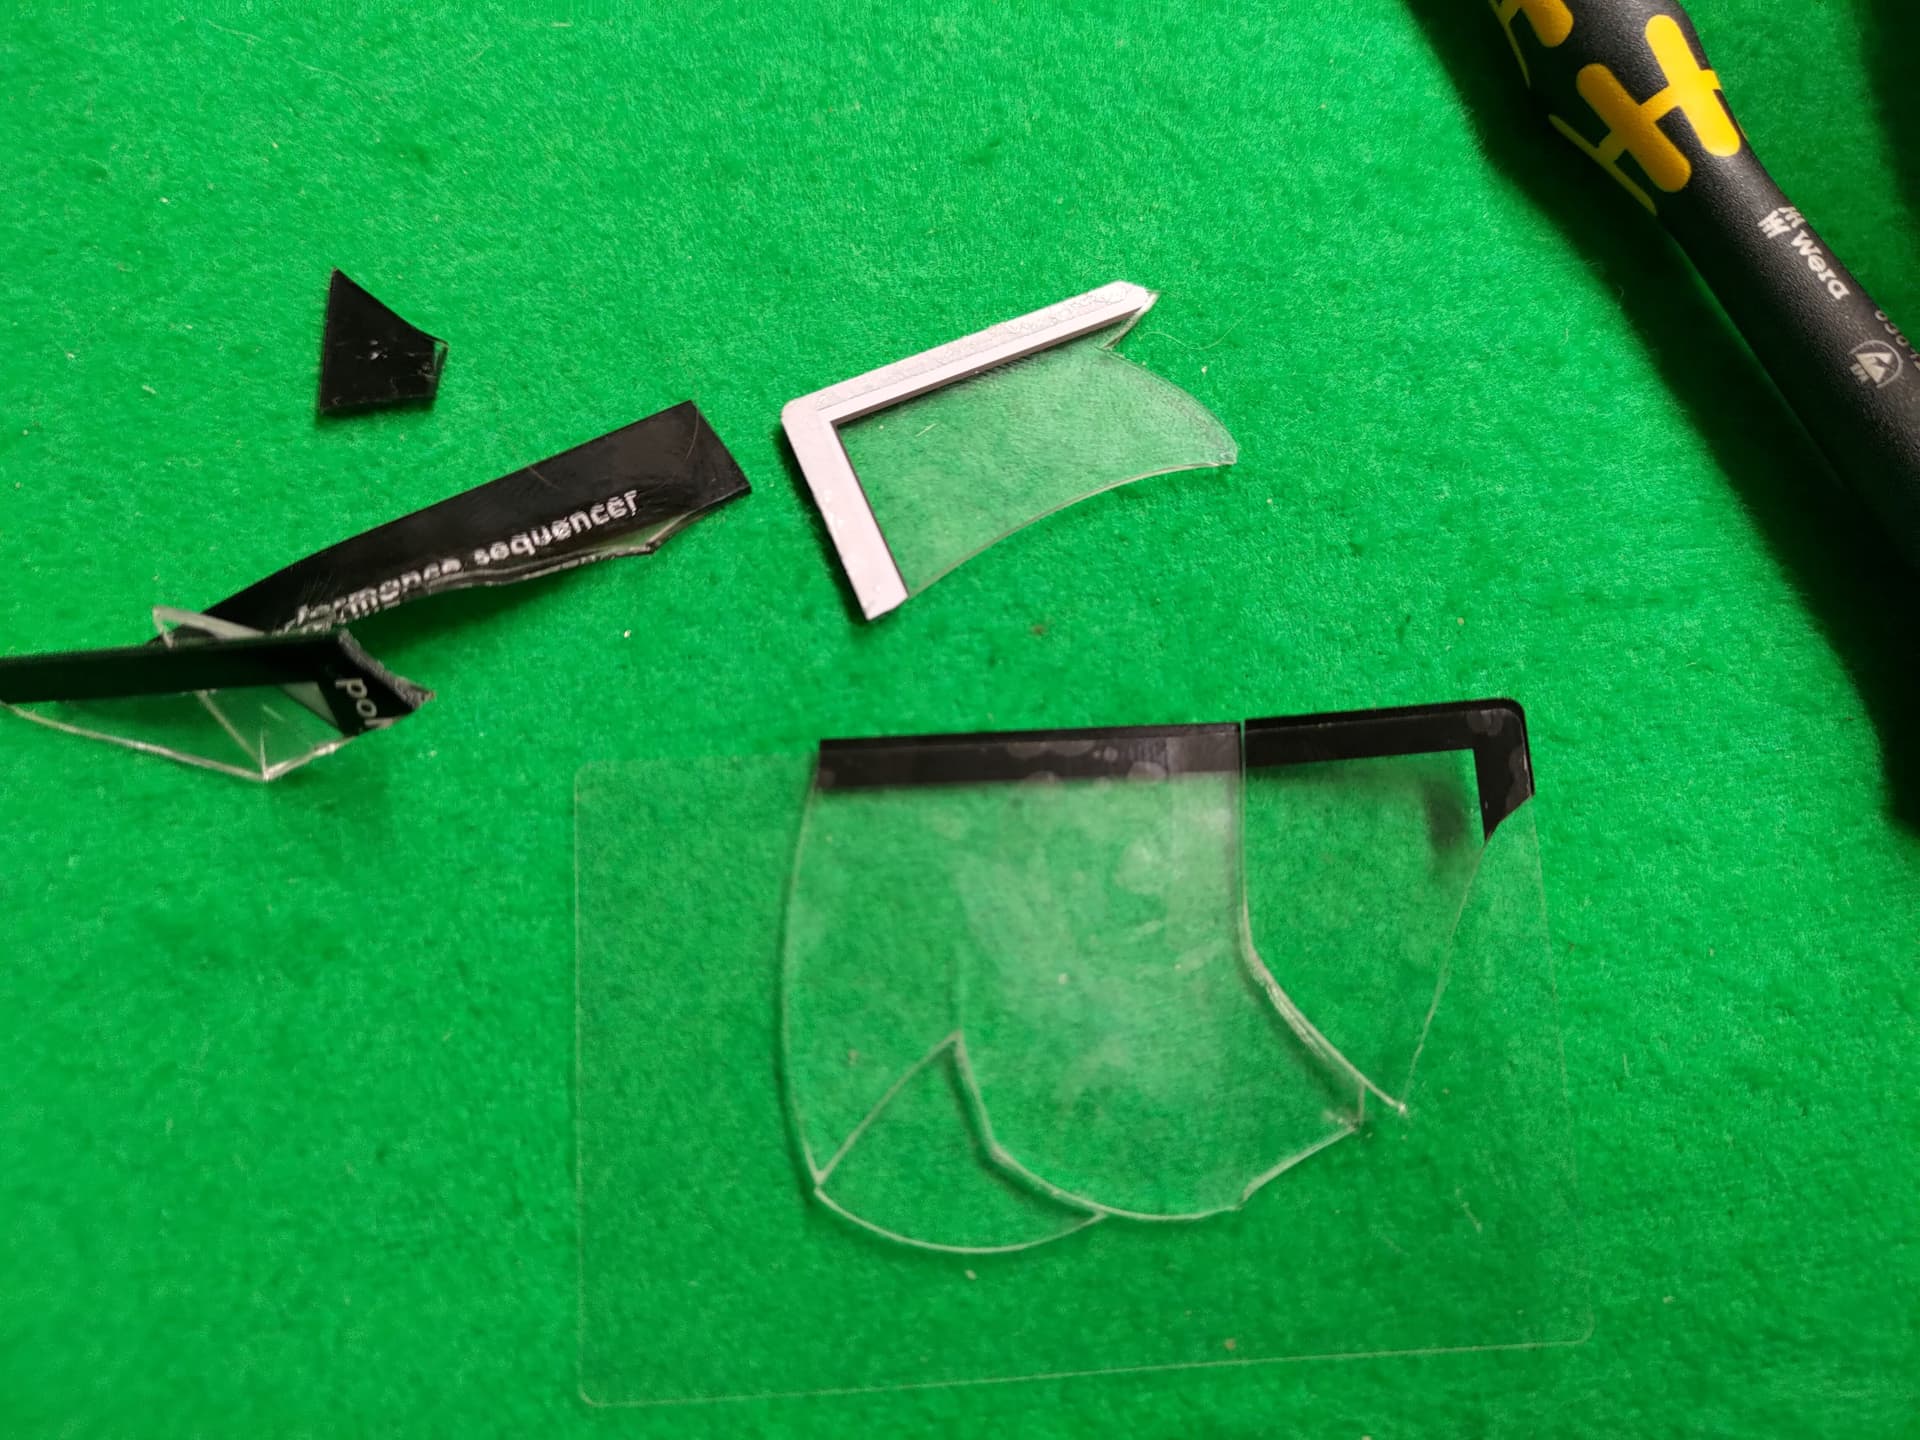
- Press from below against the broken screen cover, hot air helps with softening the glue but it took some effort
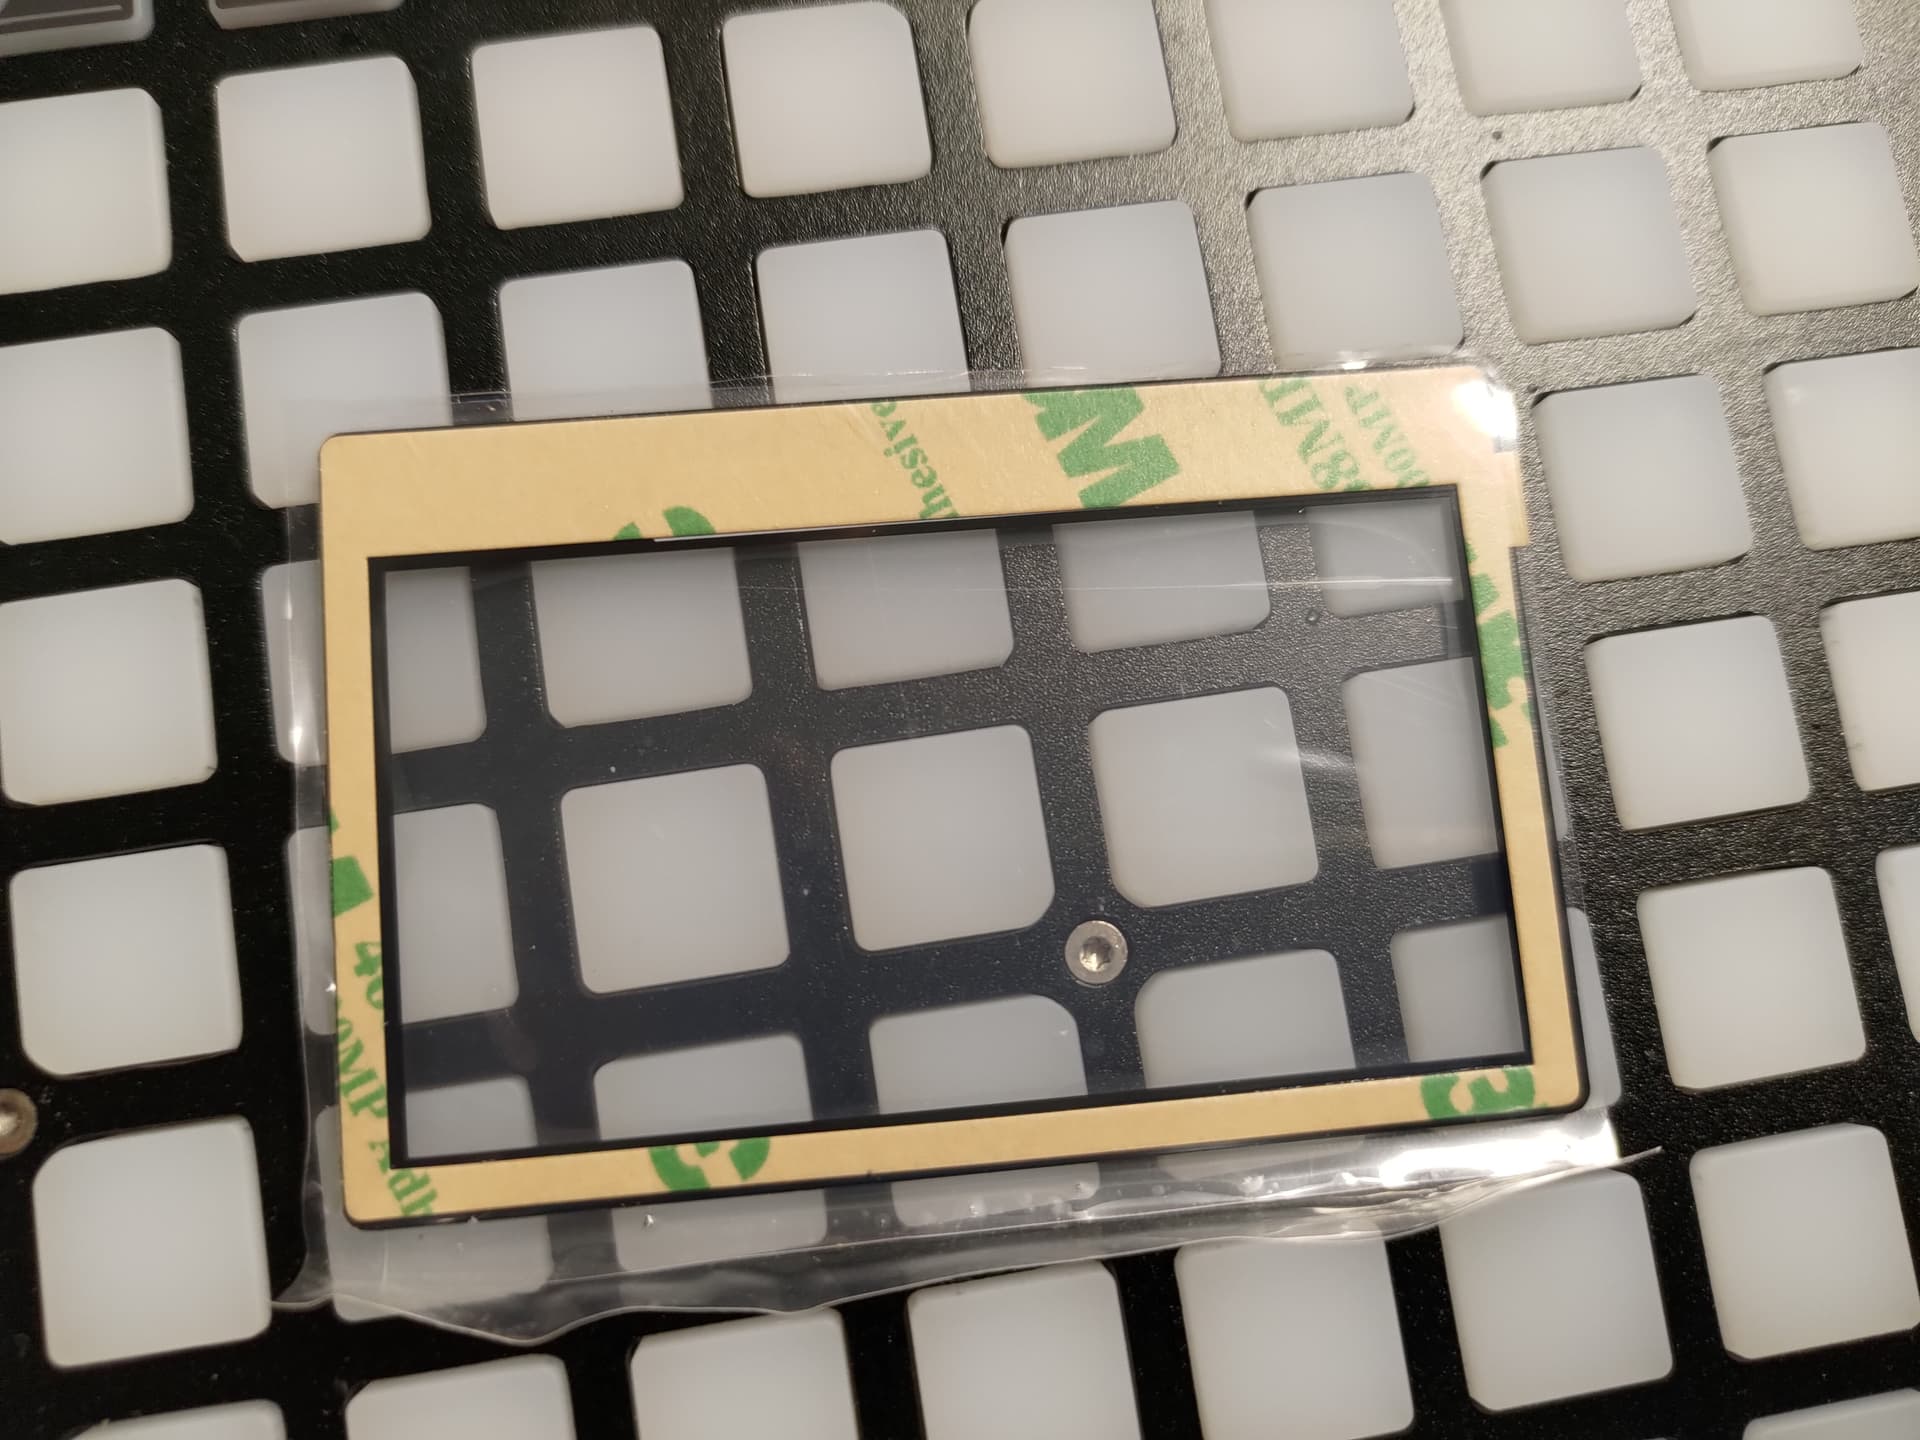
- Clean up the left over sticky mess (I also used some hand desinfectant as solvent - works better than alcohol as it does not evaporate as fast)
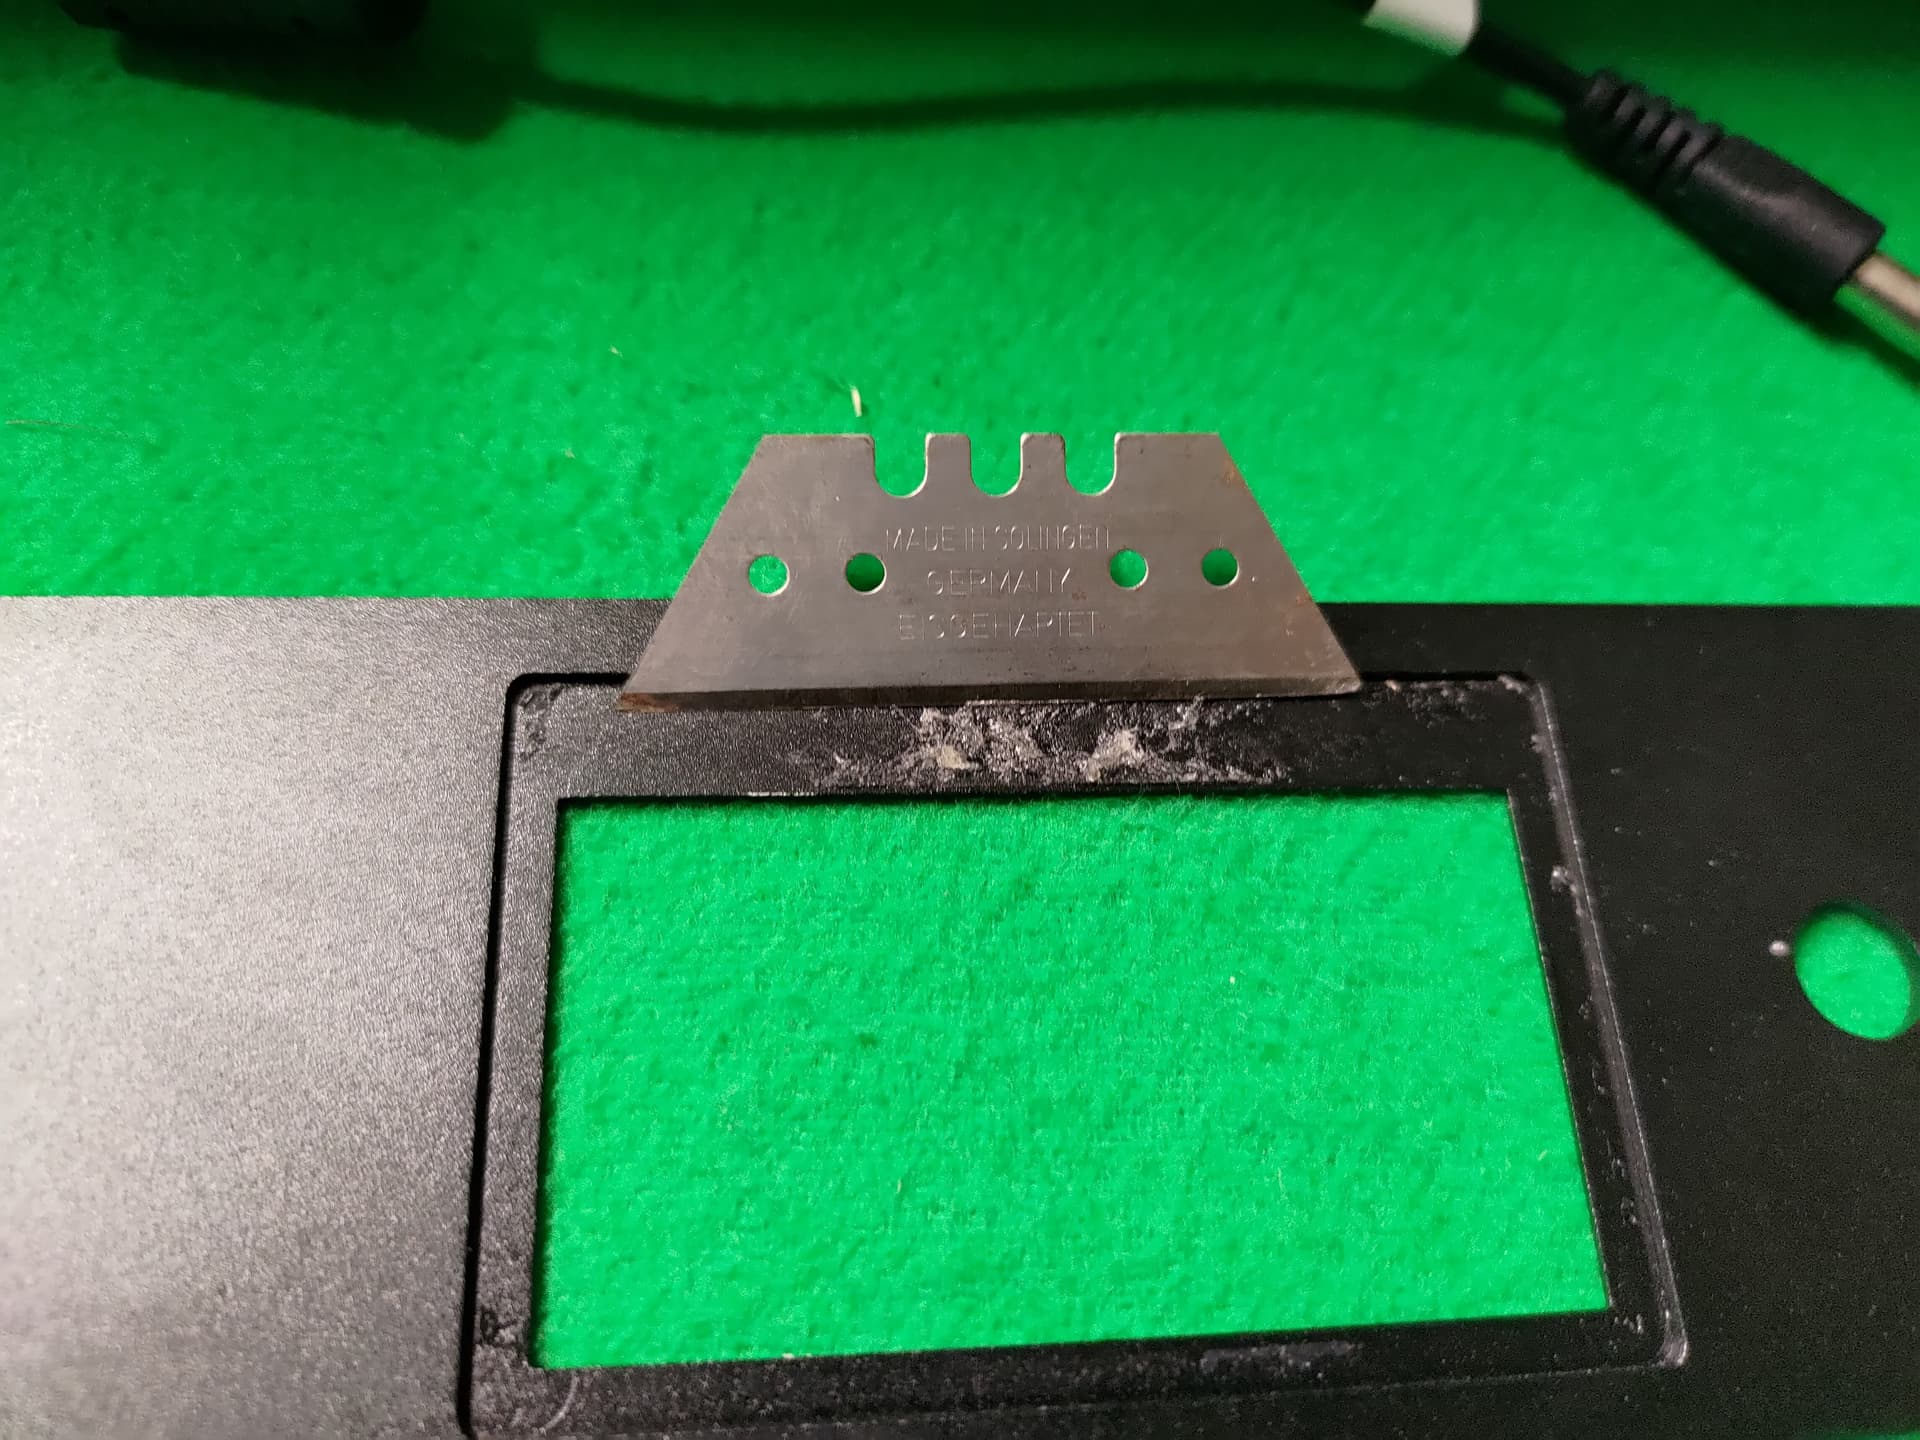
- small touch up (optional)
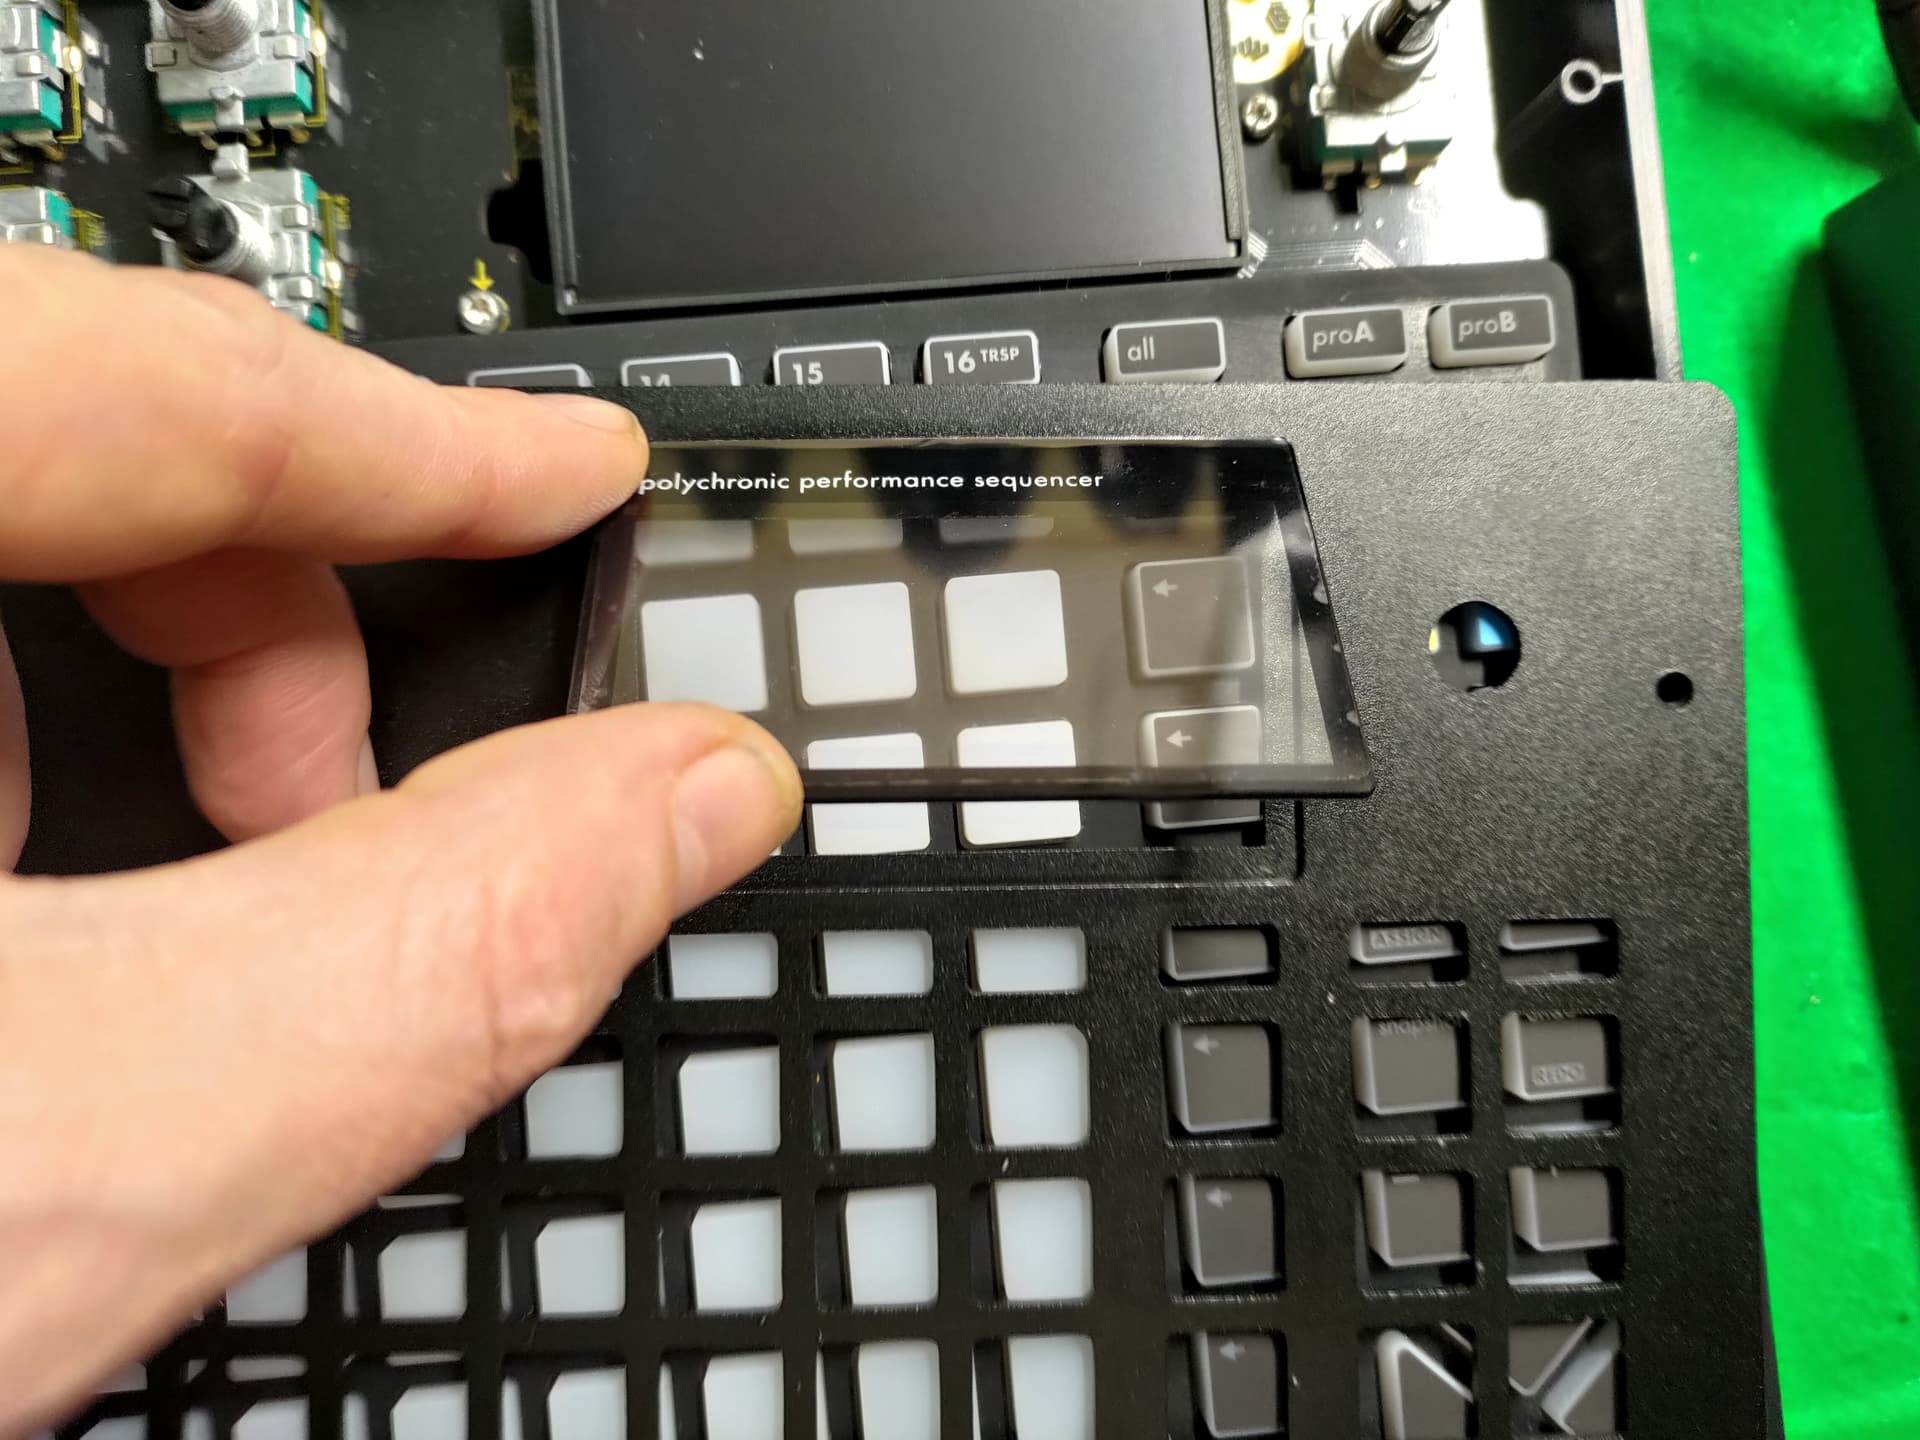
- remove protective film from the replacement part and carefully place it in position
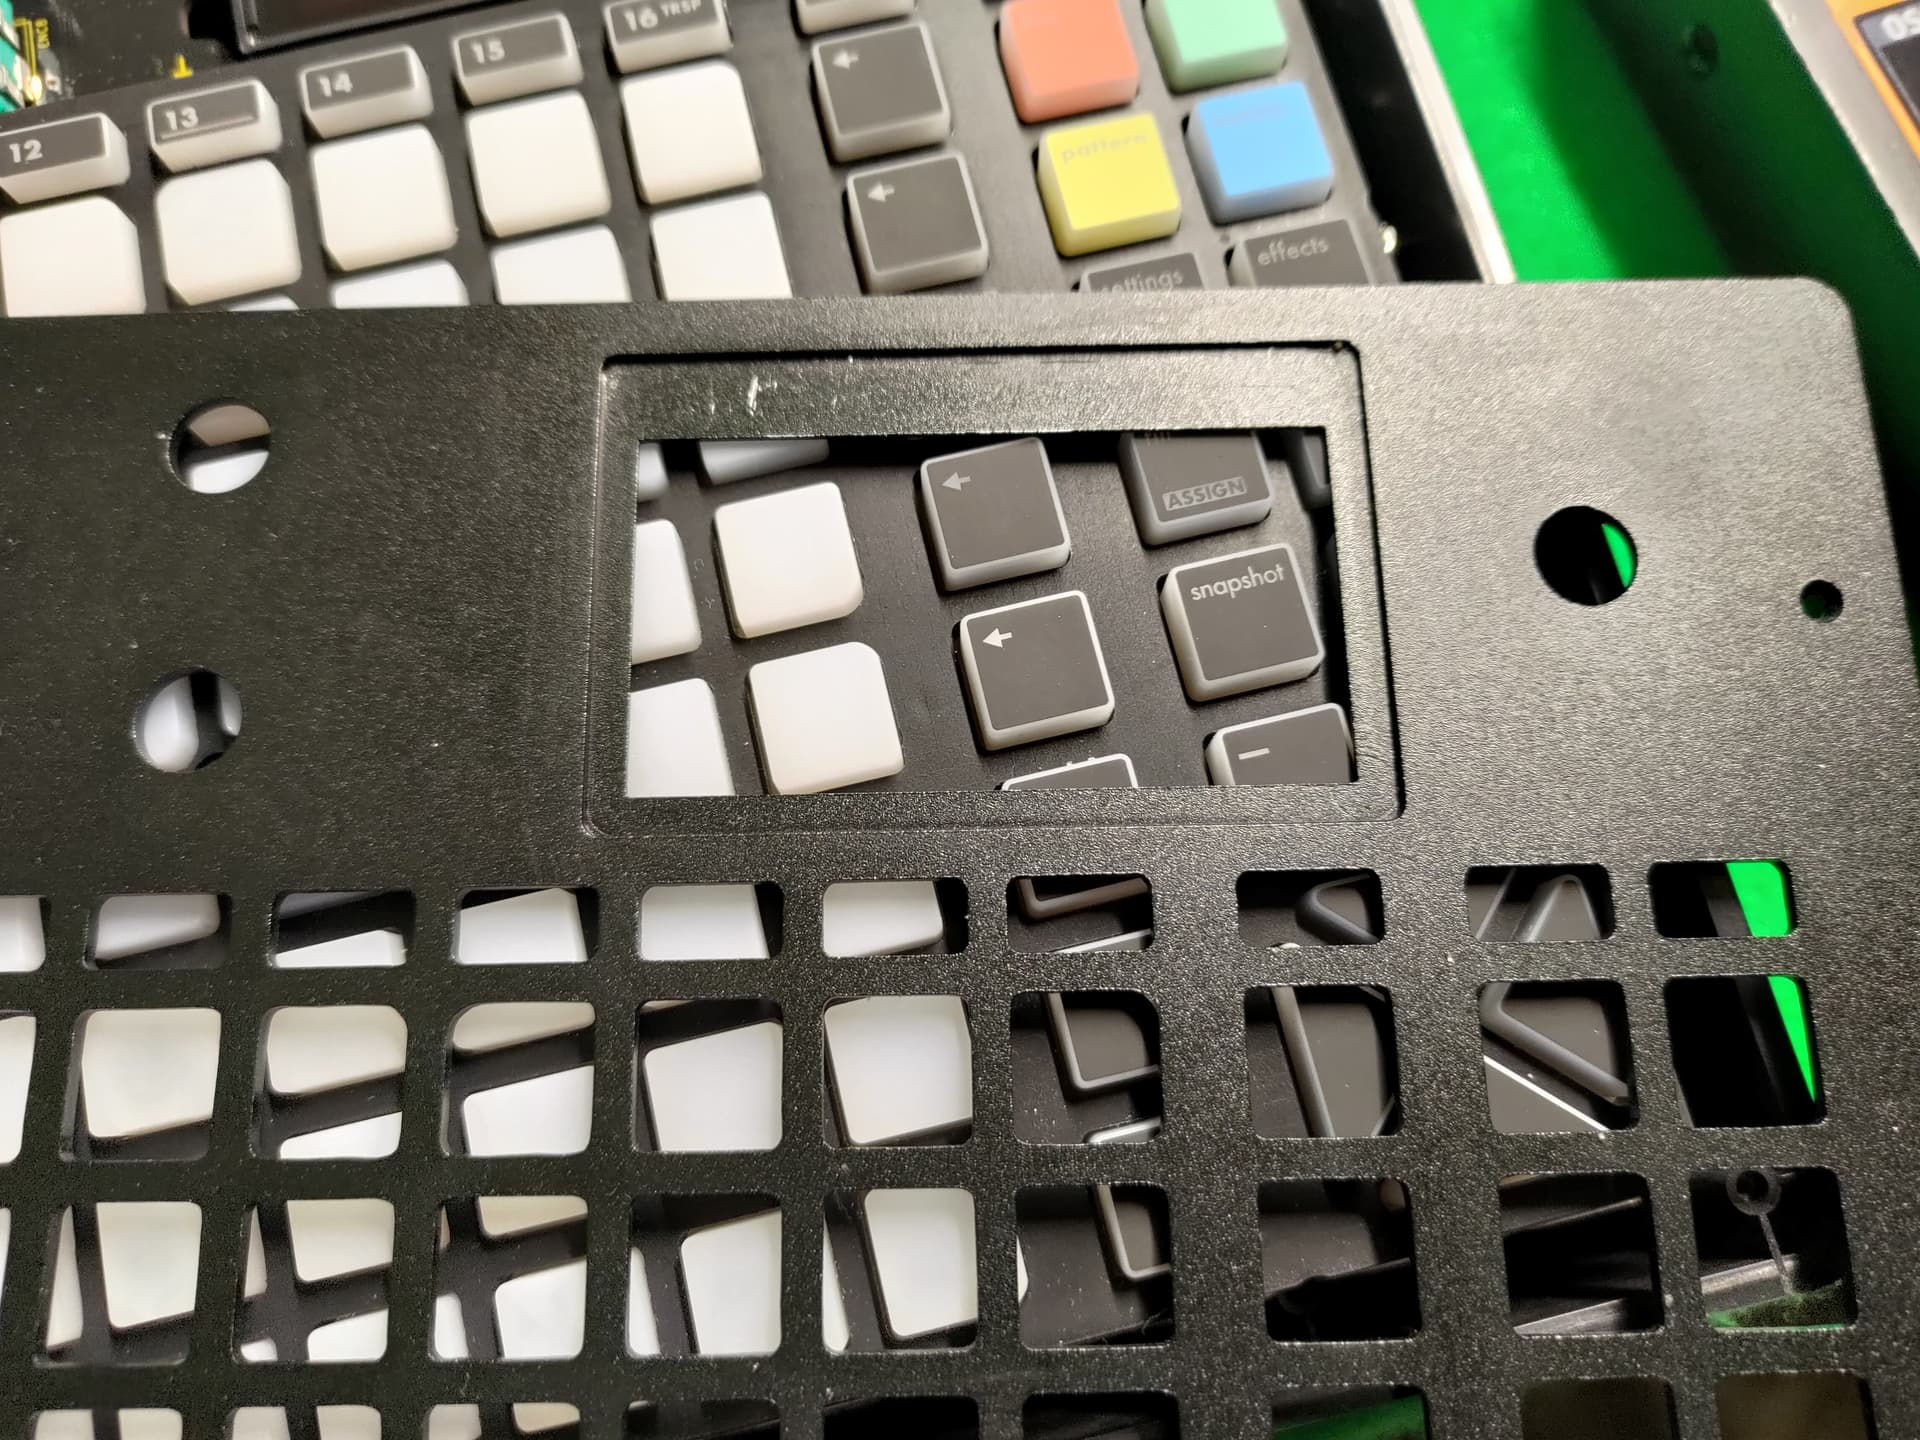
- Before reassembly check for dust and fingerprints below the panels and on the screens
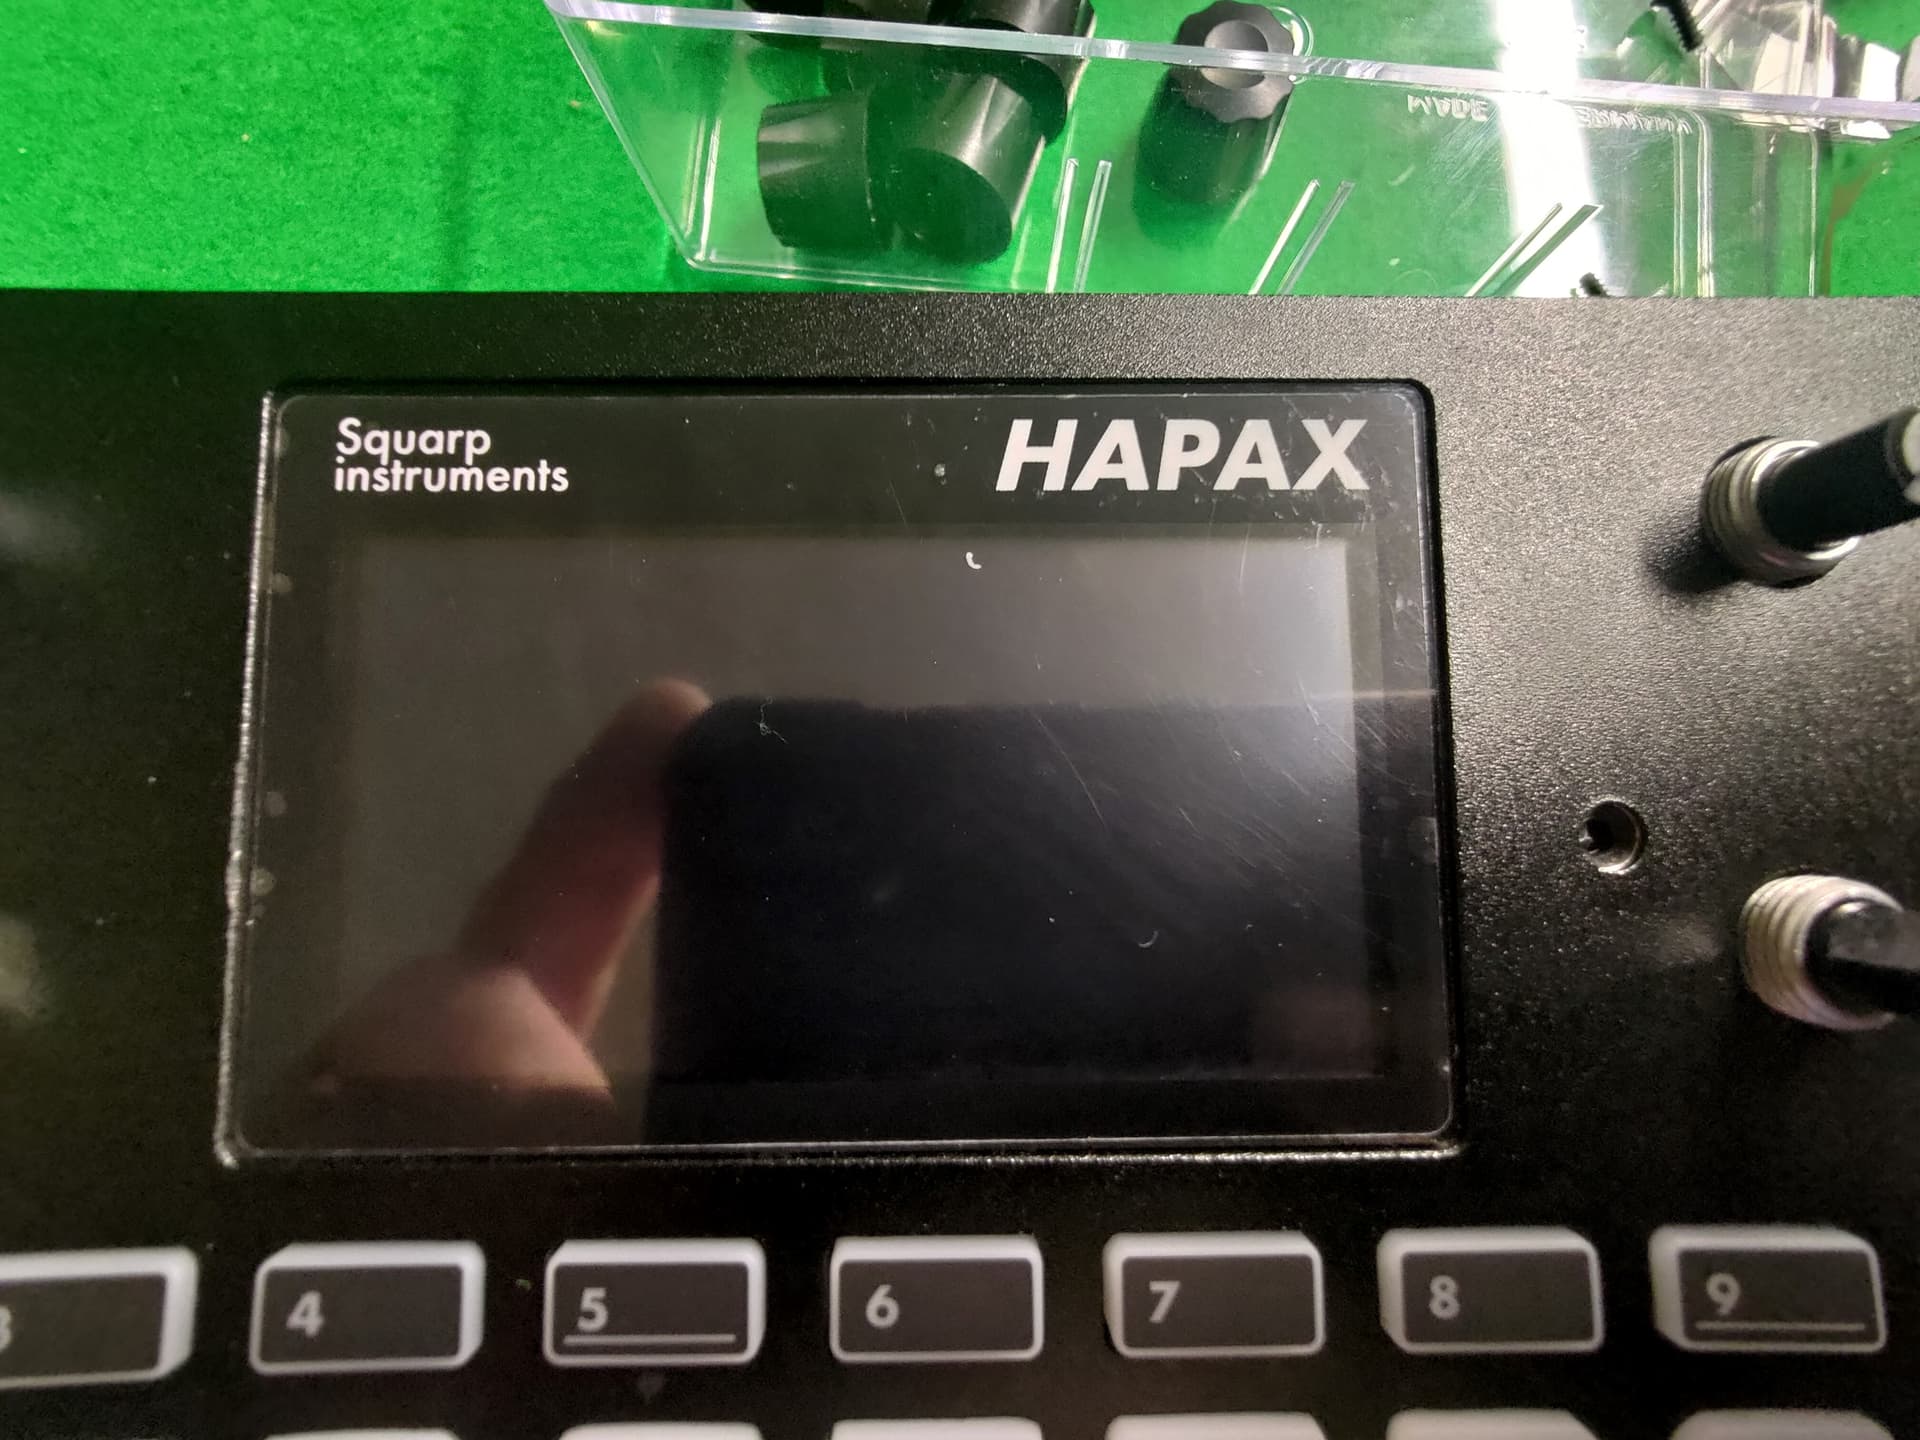
- screw the top plate back in place, put the knobs back on, check for clickyness - enjoy

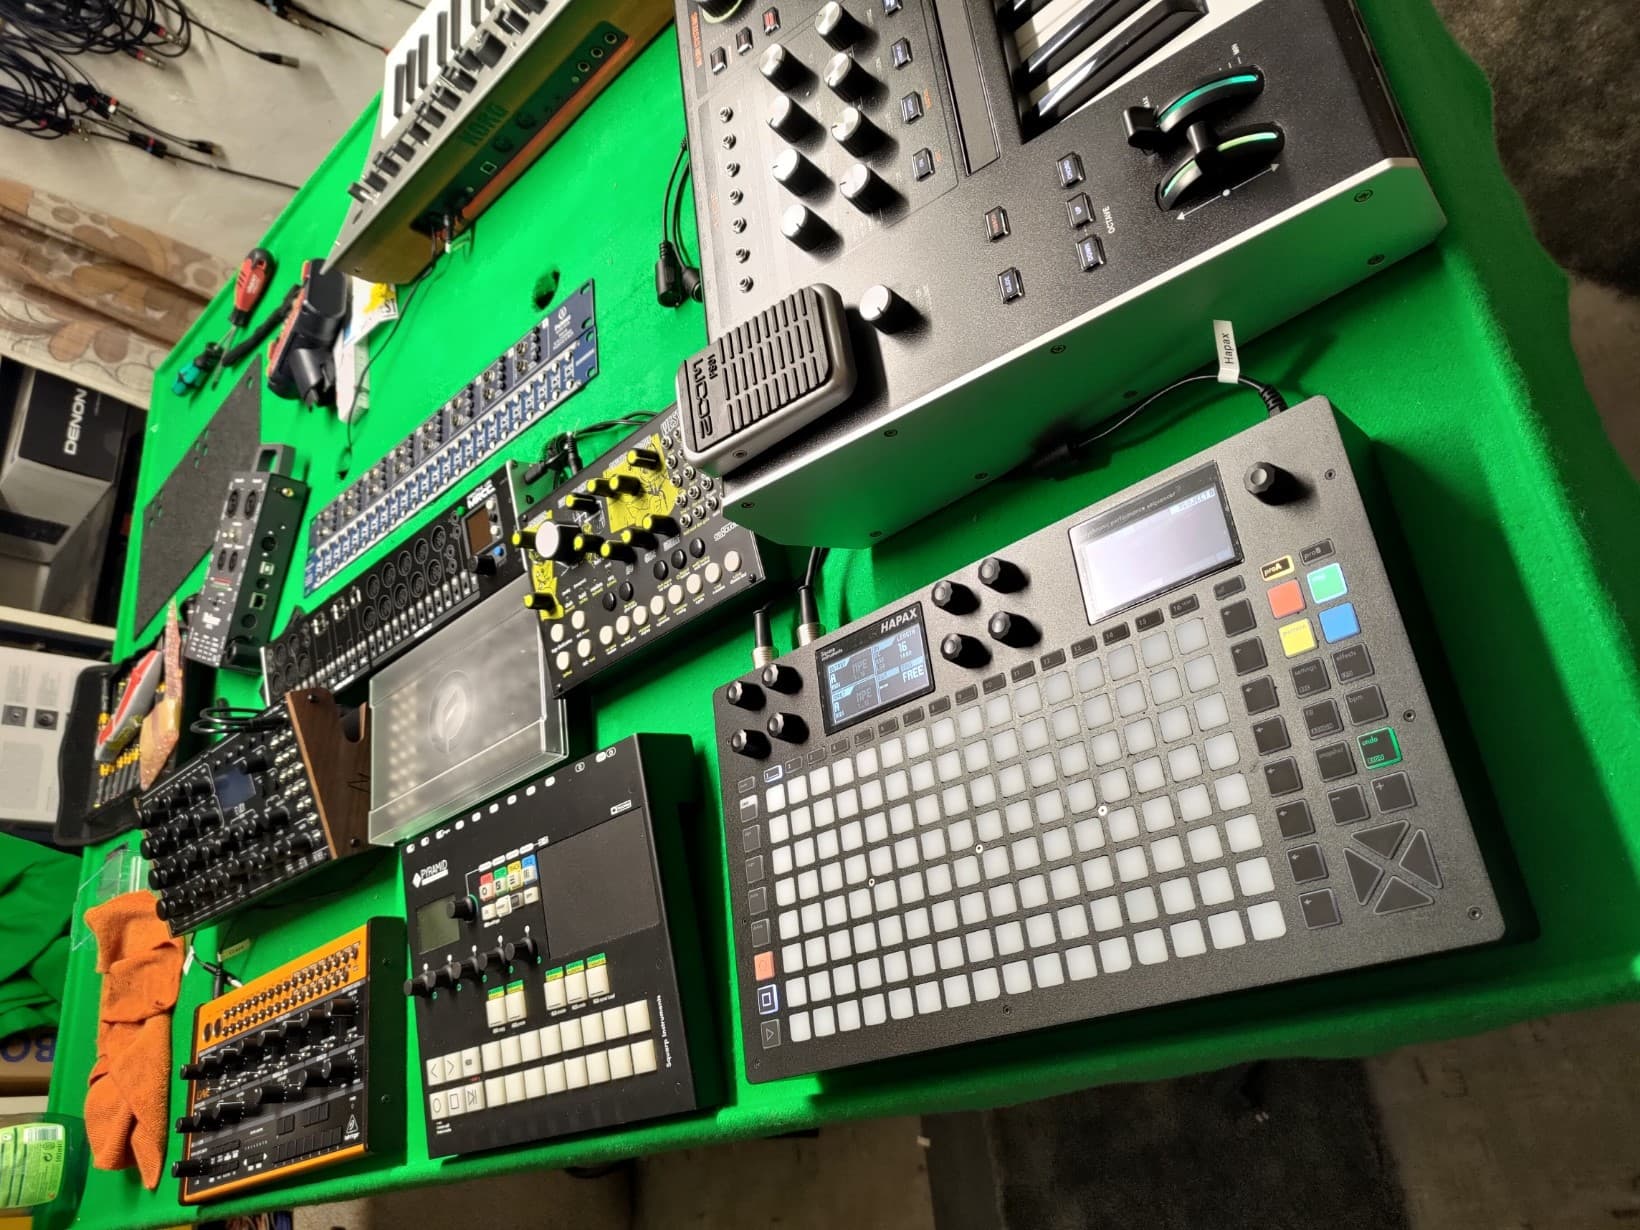
Now back to re-arranging the studio, my final project for this year and I really want to get it done today ![]()
Thanks to Squarp ro the part!
All the best for the new year,
Johannes
(Oh, and if you happen to be in Germany in the area around Göppingen / Schwäbisch Gmünd… I’m looking for collaborators and jam partners ![]() - just drop me a line)
- just drop me a line)