Encoder switch issue (pre June 2022 units)

mod note : clarification on issue and resolution.

(by @thetechnobear)

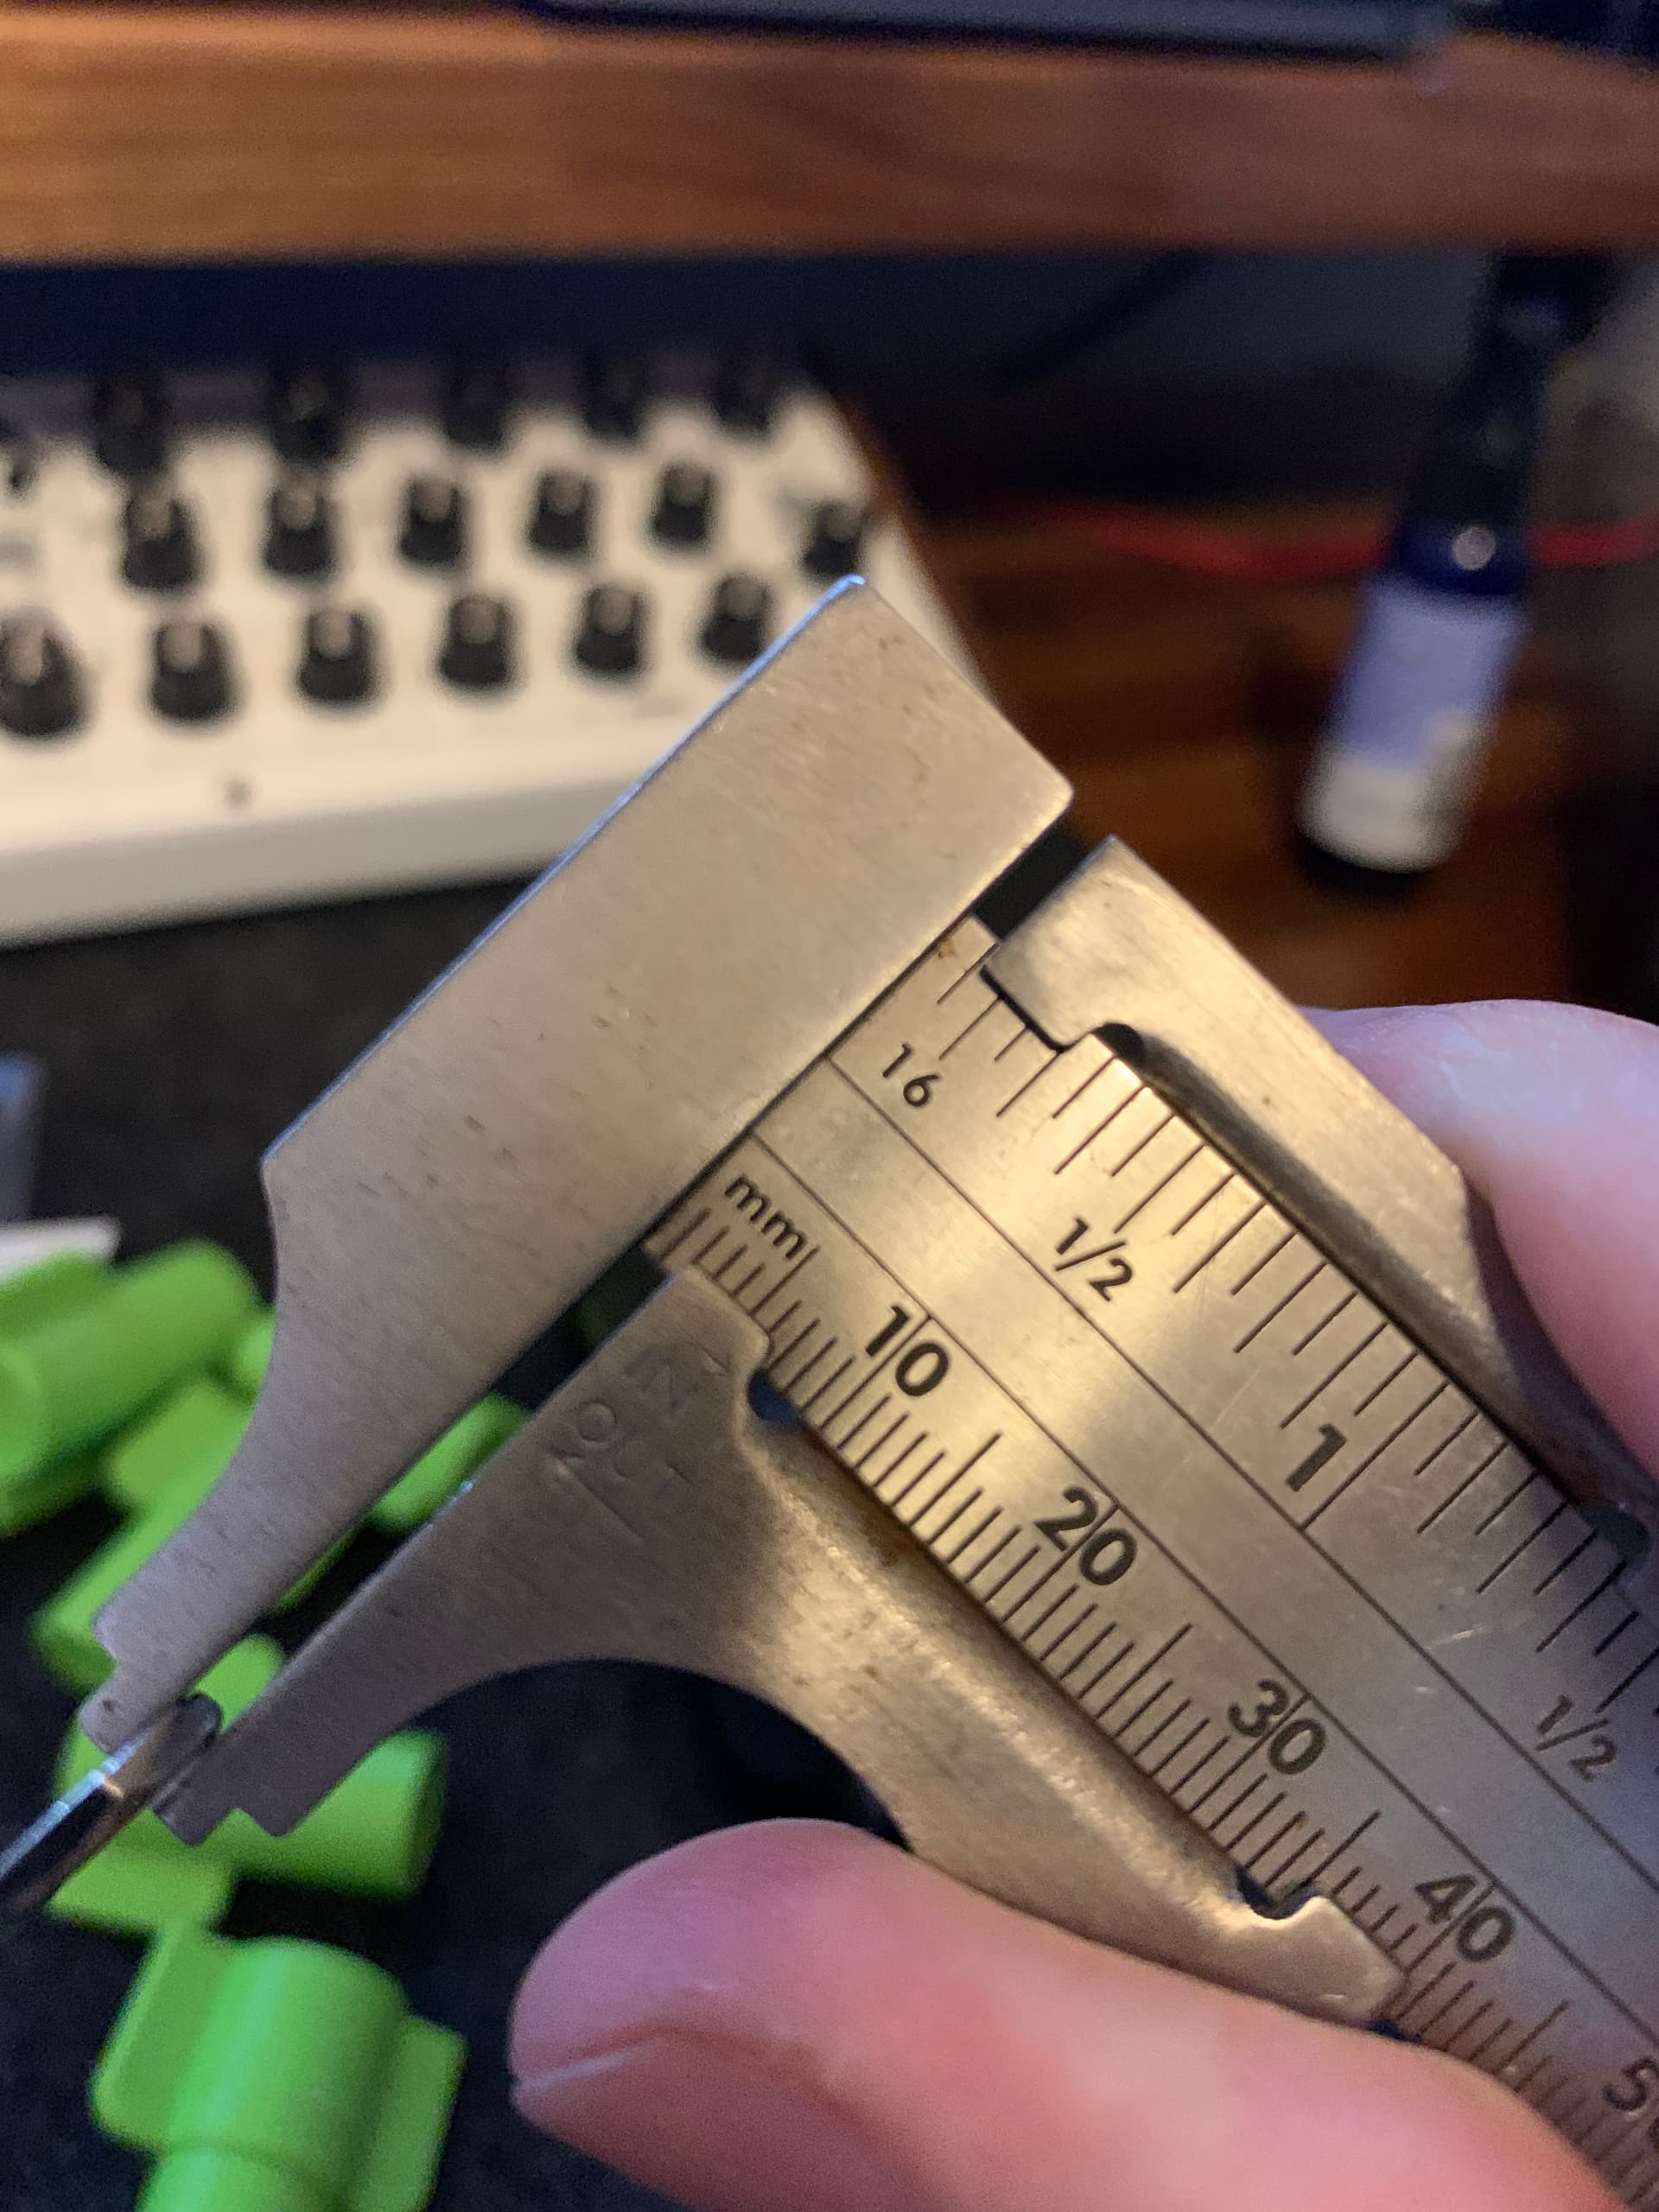
for some users of the original (pre June 2022) , the knob cap on the encoders is pushing down a bit too far on its shaft. this means the the switch does not activate every time correctly you press it.
this may occur after a short time of using, as the knob ‘wears in’.

simple workaround

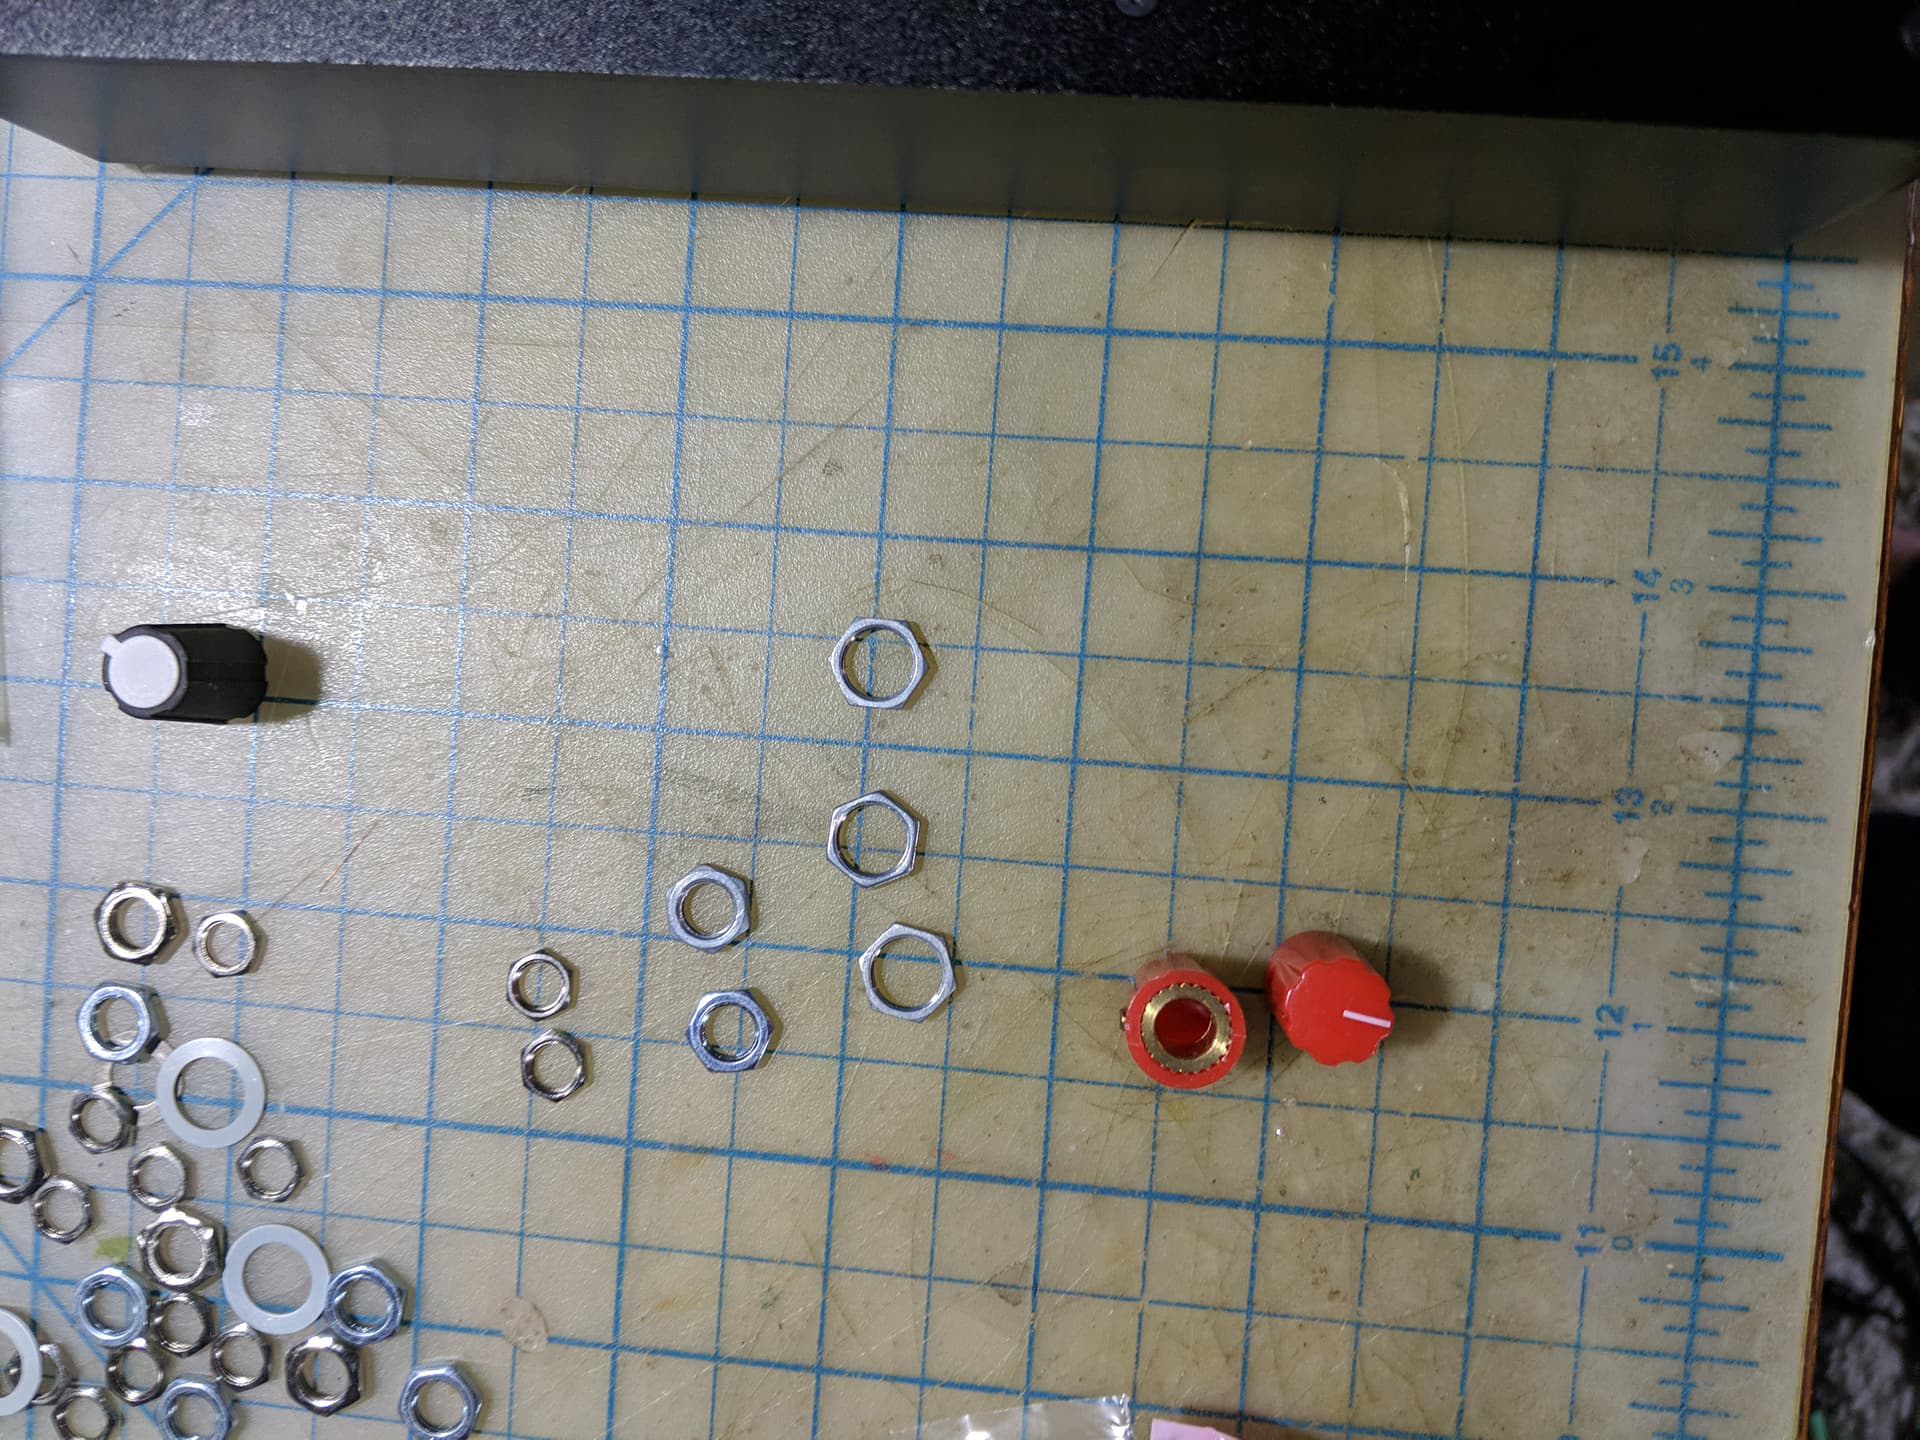
remove the knob cap, and place a small amount of paper into the cap.
(you can put a bit, then add more if necessary)

this will mean the the cap will no longer push down so far, and so the encoder can go thru its expected travel, and so get proper switch activation every time. as the paper won’t compress anymore, this will solve the problem for good.

however, if you wish to have knobs replaced with a revised design this is now possible…

replacement program

Squarp are offering a free replacement of knobs to anyone affected by this issue. details in this post about how to get these revised knobs.

custom knobs

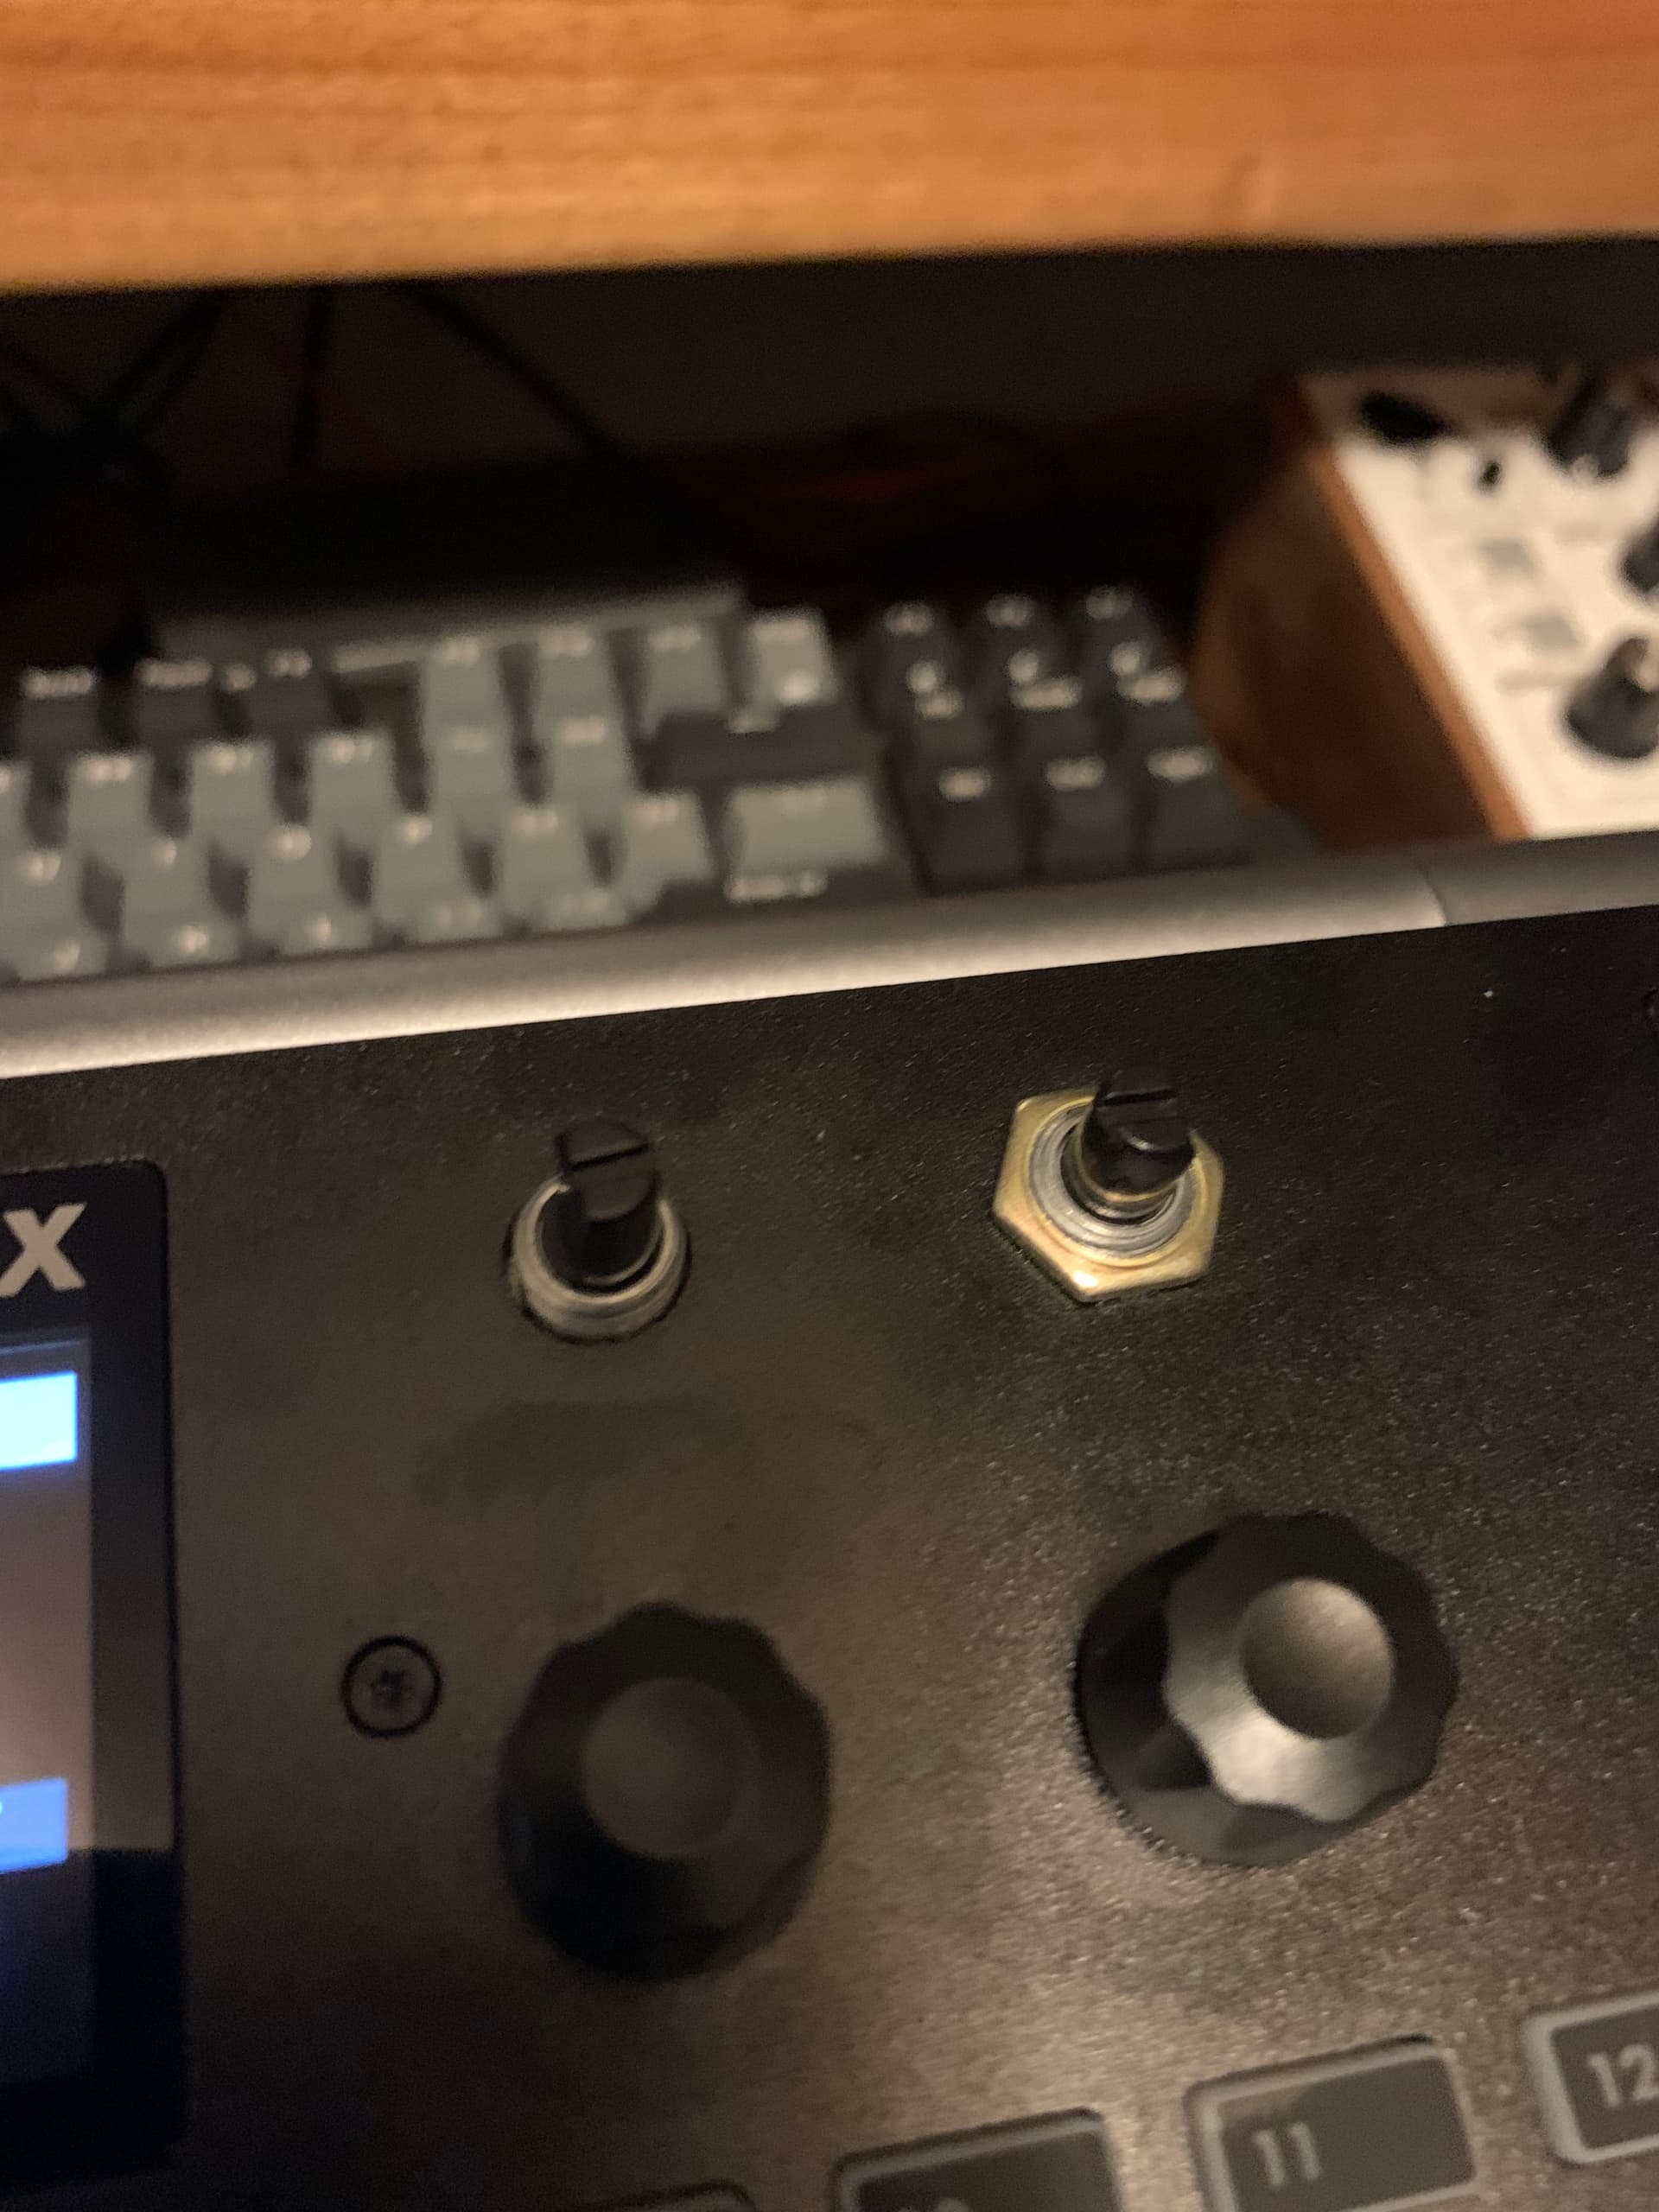
another option some users have opted for is to replace with other knobs… e.g. with different colours, or feel… personalise your hapax :slight_smile: they are pretty common 6mm D shaft knobs, just be careful with ‘depth’ and also spacing between them - examples have been posted in this topic.
(I quite fancy some nice aluminium ones … need to do some shopping !)

important note: this only effects the first product run units, from June 2022 new units will have the new revised knobs.

of course, if you have any questions related to this, please contact Squarp via the contact form

EDITED: to make reference to the revised knobs and replacement program for early units.

(apologies to @jps, for hijacking your post.)


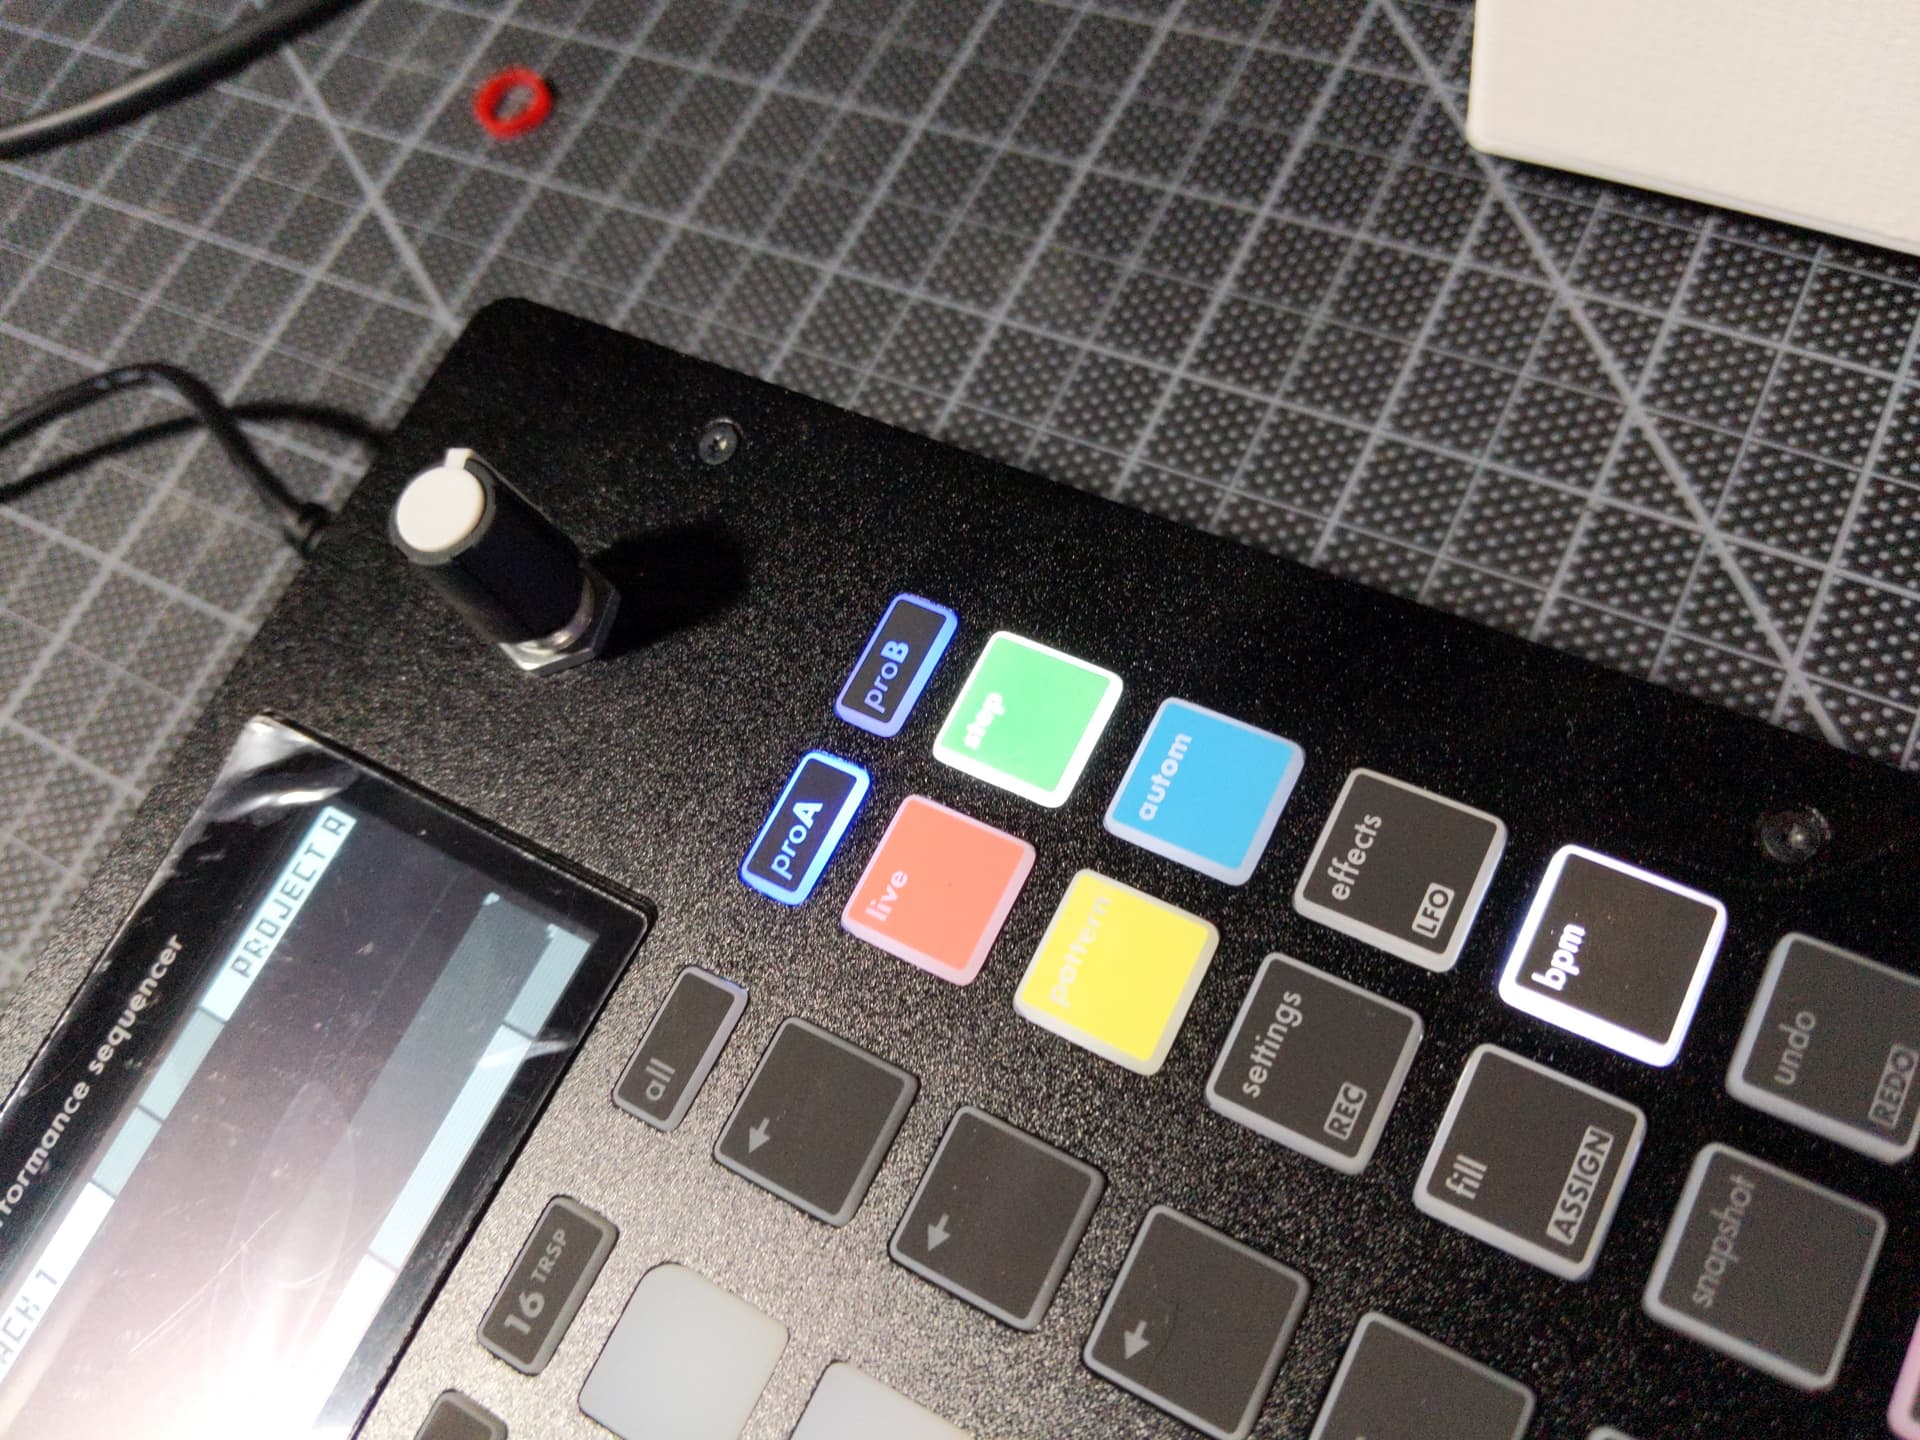
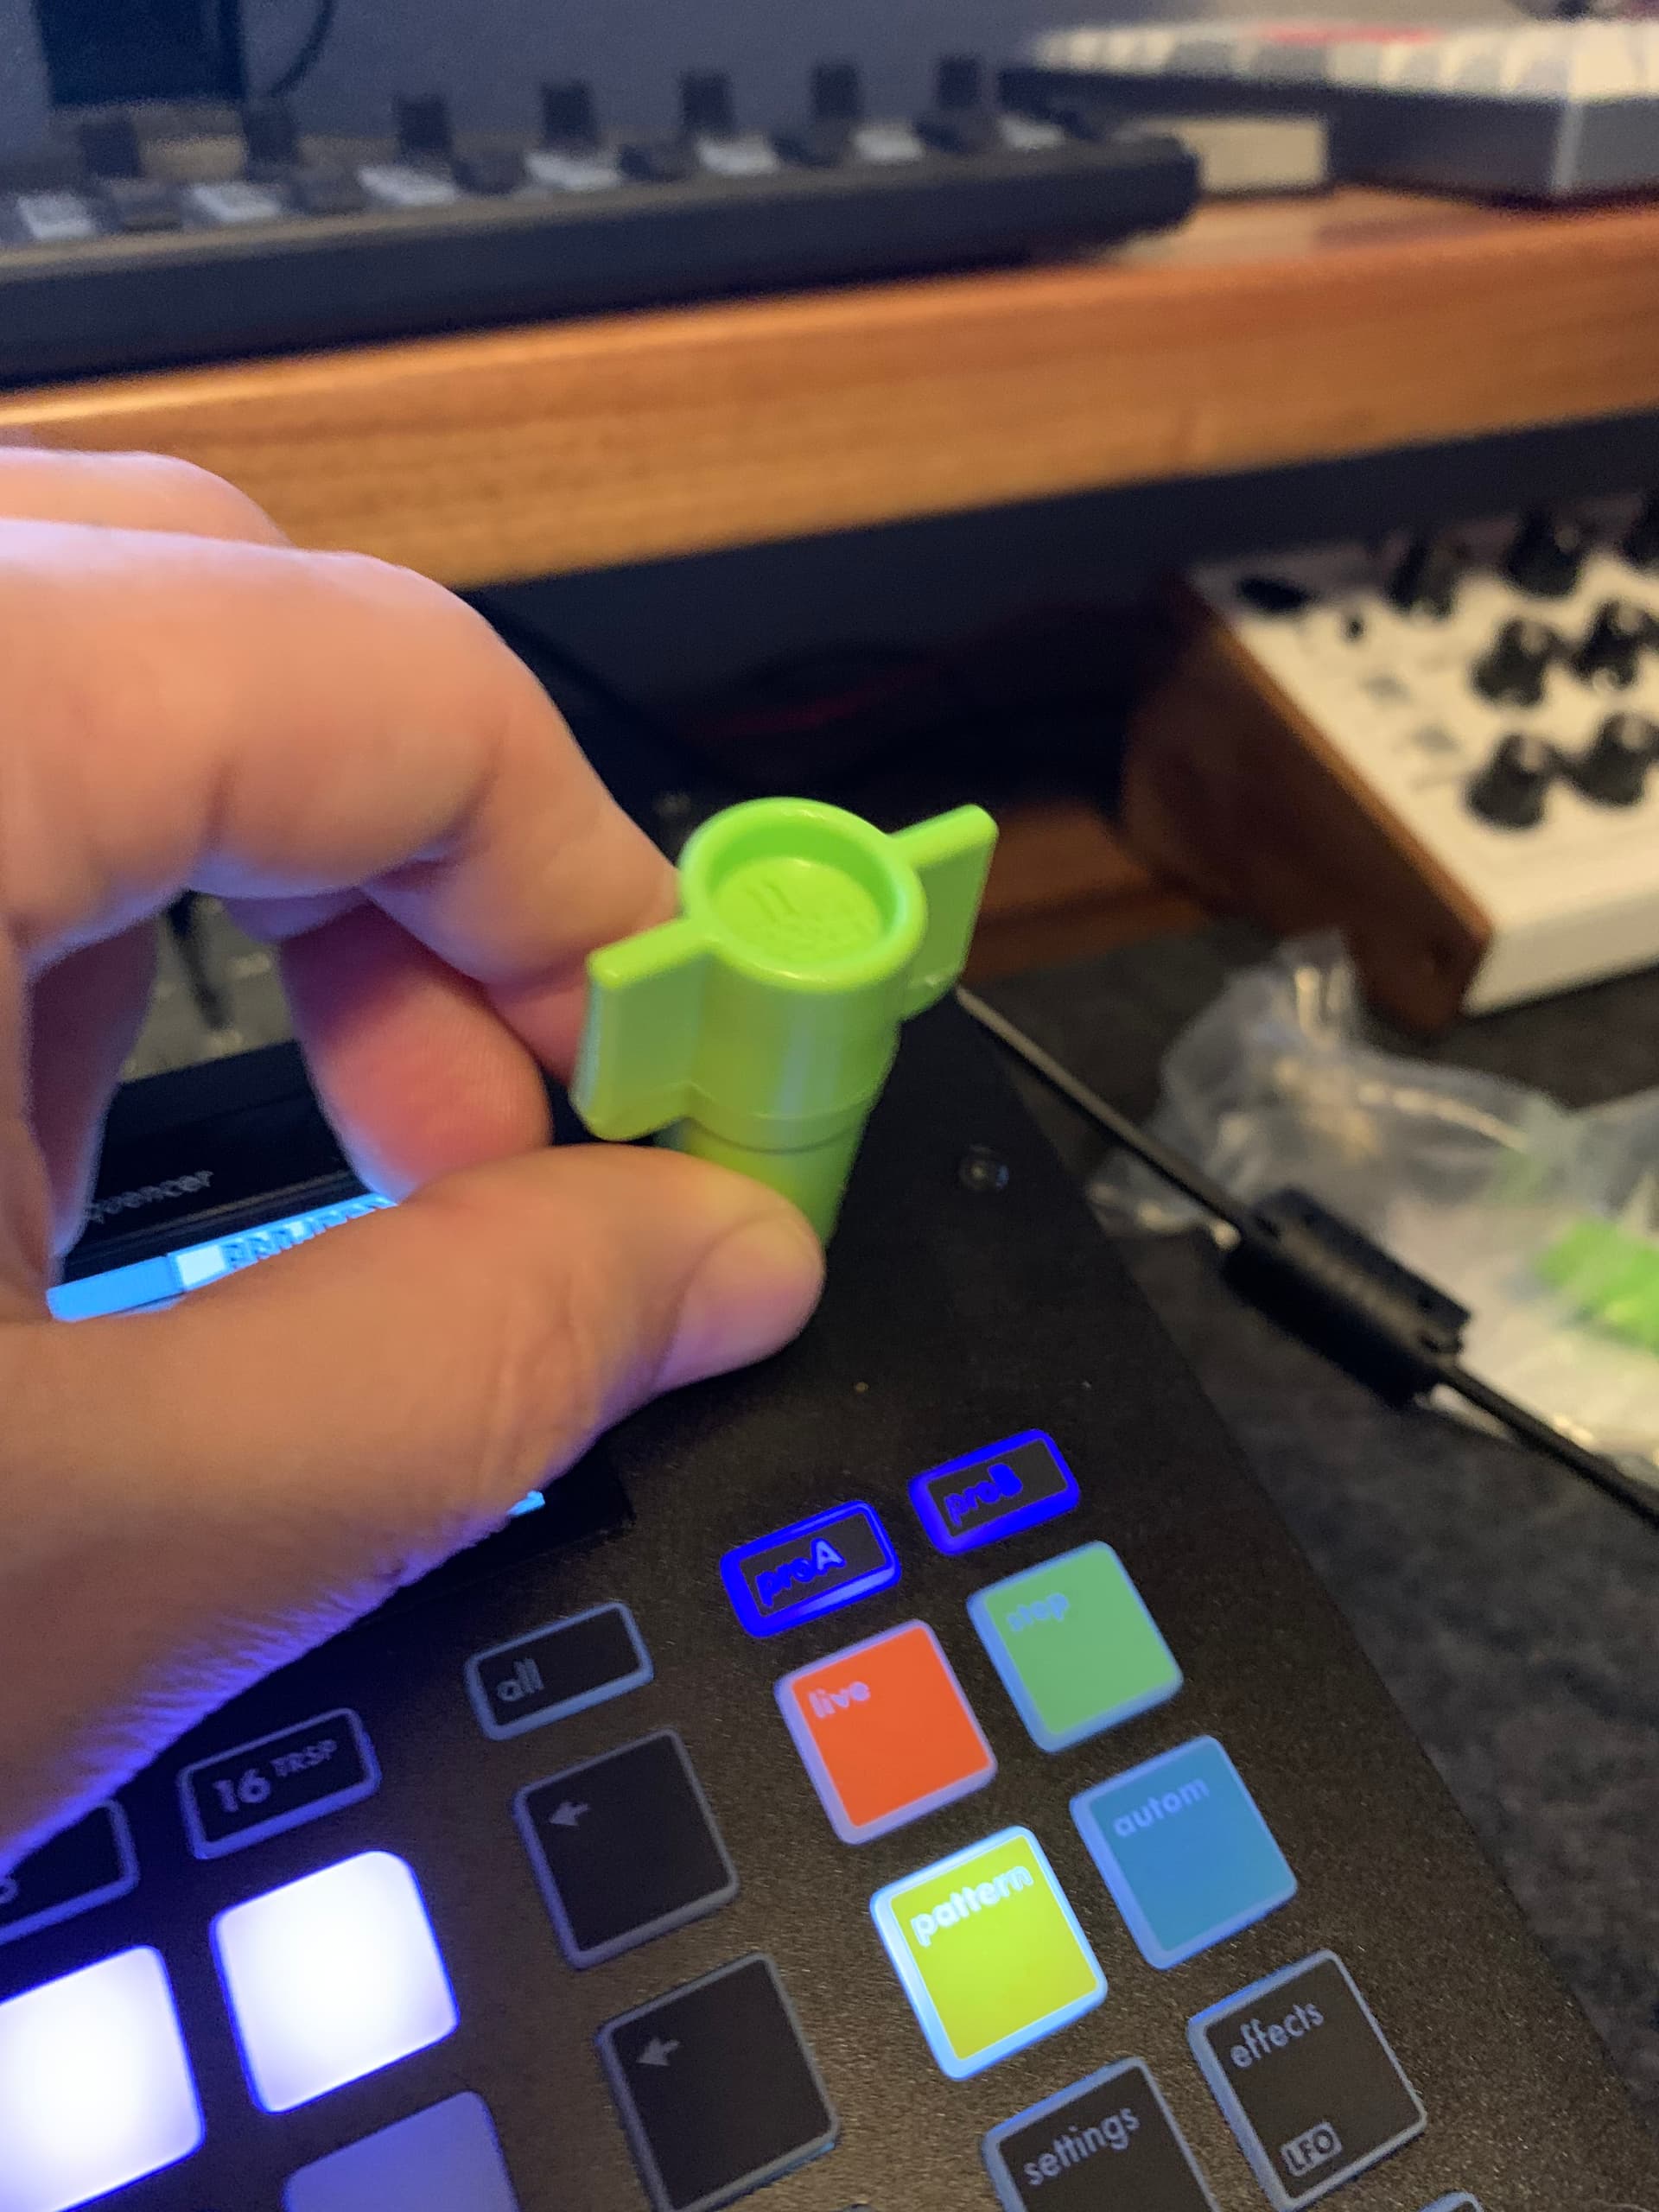
Here’s another issue I encountered tonight…

The knobs are not a perfect match for the encoders. If the knob is fully seated, the encoder’s switch can not be activated. This means that any UI feature that requires a press of the button will no longer work.

If I ease out the knob just a touch, the button starts to work again, only until the knob fully seats again.

I think I fixed this by inserting a small ball of electrical tape into the knob. If this fix persists, I might try a dab of glue in the knob instead.

2 Likes

OHH I may have the same issue. My right most knob (the one used for naming) is super super finicky about the push button part. Like I have to push is 3-5 times, and occasionally more, which makes naming a bit of a chore. I came here to see if others were hitting this. Ill check to see if your fix works in the morning.

Oh yeah. Just watched the video, I have the exact same issue.

I ended up just rolling a small amount of paper in a ball and throwing it in each knob. This seems to have fixed the issue for me.

Also, I’m having a minor issue with the top left encoder. You have to press it very lightly or else it will have a secondary “click”. The secondary click isn’t the actual encoder switch, but the entire encoder/pcb moving up and down.

I was really surprised by the lack of a washer/nut on the top of the encoder. These are really important for pcb mounted encoders and potentiometers so you’re not constantly adding force to the solder/pcb. I might try adding my own.

1 Like

I also have the exact same problem, I will try the small paper ball solution (thanks for the idea jps!).

One thing I don’t understand is way not everybody has this problem since it is a hardware issue.

Hello everyone - I have the same problem.

@Squarp Instruments

which encoders are installed, which knobs fit on it?
I would buy better knobs (metal, bakelite, etc…)

I don´t own a Hapax yet, but for me it´s the other way around. Hardware could be slightly different, but the software issues should be the same.

odd my unit (pre-prod though) , has good clearance on all encoders … closest I see is probably still 1-2mm above case.
I’ve had zero issues with them not ‘activating’

generally, this happens when the caps push down further on the shaft.
I guess there could be some ‘tolerance’ on this (in the caps, shafts are identical)

I’d definitely try the paper trick, ive used with some instruments as they get a bit older, and so the knob cap gets a little ‘worn’ so it pushes down further.
2 minutes job, then never see issue again.

edit: to be clear, not dismissing issue - not saying its ‘right’
rather it could be a manufacturing / parts tolerance issue.

of course if you have any concerns, reach out to Squarp via the contact form!

+1 also seeing this issue on my device. I “feel” the click but it doesn’t register. I wonder if shorter caps might help as well?

This was an issue on one of my encoders (creating much confusion when I couldn’t assign an LFO destination!) but others are OK as of now. I re-seated the knob and it’s now fine, will use the paper trick if I need to.

Considering the cost of this device, I’m a little surprised to see this, as well as the overall look & feel of the plastic enclosure. Ultimately it’s the function and feel of the encoders & buttons that most matters in day to day use, and it does feel like Squarp made sure to source quality components in that area, so this is hardly a show-stopper, more a minor niggle in a device that overall I’m very pleased with.

1 Like

Ok I am a Thonk over-buyer when doing DIY so I had some D-shaft sitting around. I fit a nut on the pot to make it snug (and more importantly, secure) against the case:

In my brief ten minutes of renaming my project 20 times I never had a misclick with this setup. It also feels a lot more solid than the others.

2 Likes

Yes its an endless encoder with and indicator cap, but I can now edit project names without fear of snapping a board in the box :slight_smile: so it evens out.

I can verify that putting the OG knobs back on also works after the nut is added, and it looks like it still fixes the problem. Jeremy Blake (We were doing some of this hacking in his discord) has reached out to his contacts at squarp to get the shaft size so folks can do local surgery if they are also running into this issue.

The right column of 3 nuts is the size I used to secure the pots to the chassis (They were in a DIY junk drawer so I dont have the exact mm size) in comparison the middle column is 6mm Eurorack pot nuts. left column are eurorack jack sized nuts.

1 Like

cool!

interestingly on my unit, there is no way I could fit a nut… no thread is exposed above the faceplate … where as you seem to have a lot of thread - so perhaps encoders were changed?

I guess one thing here to mention (to others considering ) - do not over tighten the nut , as presumably you’ll be pulling the PCB up.

1 Like

Yeah just tightened by hand

1 Like

Yeah I have a LOT of thread space, almost like it was meant to have a nut there :slight_smile:

yeah, completely different on mine, but its a pre-production unit, so not very surprising.
the odd thing here is you presumably have more clearance from the faceplate than I do … so you’d think mine would be worst (for sticking) …
but could just be different encoders, or perhaps PCB mounting has change (so its now higher?)… too many variables.

anyway, doesn’t matter… only matters what was released :slight_smile:
(my production unit is on its way… so will compare a little then!)

1 Like

I was also able to get this working with the addition of a nut.

A word of warning though — adding a nut will scratch the case. For those of you concerned with this, please use the paper ball method.

Here is the thickness of the nut I used: (the encoder is 9mm)

If you’re going to be doing a lot of work on pots, encoders, knobs, foot switches, etc, I highly recommend getting a set of these “rocket sockets”. I got mine from “Love My Switches”, but I’ve seen them at a few shops. They’ll protect the case more than metal sockets.

2 Likes

FWIW, I’m having no problems with knobs being seated or encoders being pressed. Everything is working for me.

I’m not saying anyone should open up their Hapax, in fact I strongly recommend against doing so, but this random image I found on the internet of a Hapax with its faceplate removed shows that a) the encoders are pretty firmly soldered to the PCB and probably aren’t going to have the kind of mechanical issues people are concerned with, and b) the nuts and washers appear to actually still be on the encoders, under the faceplate, which means they can probably be removed and re-added over the top of the faceplate, if someone wanted to do that, for some reason. But don’t remove the faceplate of your Hapax, it might void your warranty.

1 Like

Oh wow that’s interesting! This will be handy for anyone about to purchase nuts for the encoders :slight_smile: